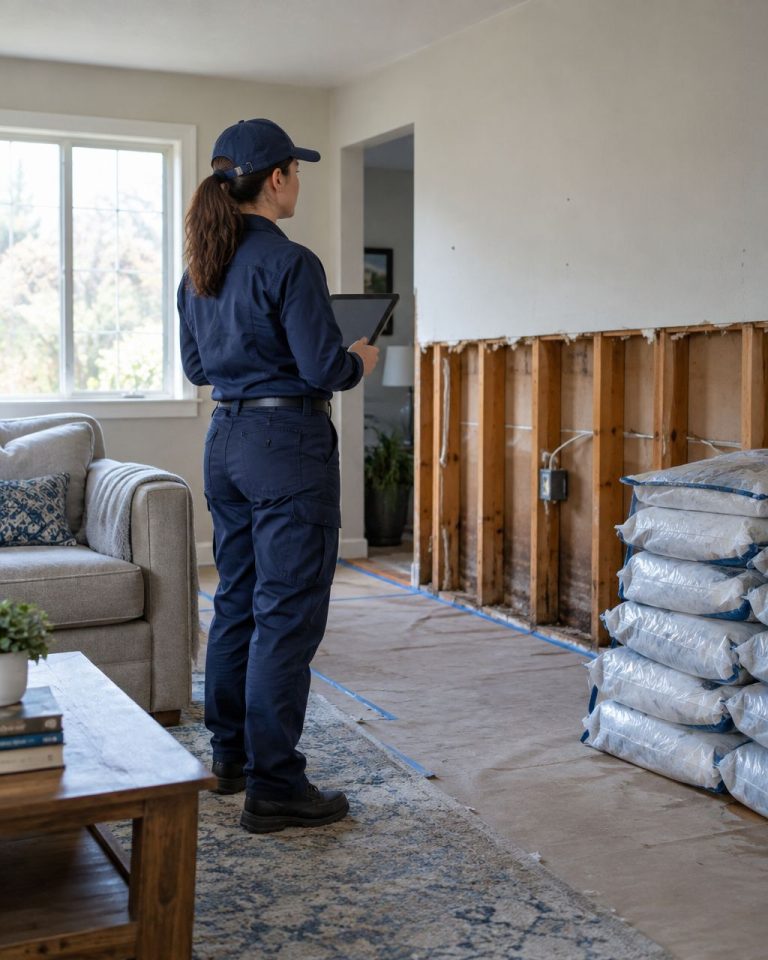
At 11 p.m., you step into the basement barefoot and feel cold water spread across the floor. It's creeping from beneath the water heater, the sump pump is silent, and you're wondering whether to grab towels, call someone, or shut off the power. That first decision matters, but panic is the worst tool in the room.
Water damage mitigation isn't just removing visible water. You're managing three jobs at once: physically drying the building, creating proof for the insurer, and preventing the next leak from turning into another emergency. The U.S. EPA recommends drying wet areas and belongings within 24 to 48 hours to help prevent mold growth, and its mold and moisture guidance explains why delay creates a larger problem.
Table of Contents
- You Just Found Water, Now What
- Stop the Water and Make the Space Safe
- When You Can Handle It Yourself and When to Call a Pro
- Drying the Structure Without Creating a Bigger Problem
- Documenting Everything the Adjuster Will Ask For
- Stopping the Next Flood Before It Starts
- Your Post-Mitigation Checklist
You Just Found Water, Now What
Start by stopping for a moment. Make sure people and pets are out of immediate danger, look for electrical hazards, and identify whether the water is still entering. Don't begin tearing out walls because you're frightened, and don't wait until morning because the leak seems small.
The first ten minutes should create order. Take a few photographs before moving anything, note the time, and make one call to a qualified emergency water-damage professional if the source is unclear, the affected area is spreading, or the water may be contaminated. A water damage repair professional can help assess the source, safety risks, extraction needs, and drying plan before you make irreversible decisions.
Practical rule: Stabilize first. Demolish only after you know what's wet, what's unsafe, and what the insurer may need to see.
If you can safely identify the source, shut it off. If the water is near outlets, appliances, the electrical panel, or exposed wiring, keep your distance. A wet basement can hide energized equipment, and a surface that looks calm may still be dangerous.
The two mistakes that cost the most
Panicked demolition destroys evidence and can remove materials that might have been salvaged. It also makes it harder to show the adjuster what happened before the cleanup changed the scene.
Waiting creates a different problem. Water moves into carpet pad, wall cavities, cabinet toe-kicks, insulation, and subfloors while the surface may still look manageable. Public-health guidance from the CDC also emphasizes cleaning and drying a home fully and quickly after flooding.
You're not dealing with one cleanup task. The house is waiting on physical drying, insurance documentation, and prevention work at the same time.
Stop the Water and Make the Space Safe
Safety comes before extraction. If water has reached outlets, appliances, light fixtures, or the breaker panel, don't walk through it to reach a switch. If you can shut off power from a dry, safe location, do so. Otherwise, leave the area and call an electrician or emergency professional.
Once electrical danger is ruled out, close the nearest water valve. That may be the fixture shutoff beneath a sink, behind a toilet, beside a washing machine, or near a water heater. If the local valve doesn't stop the flow, use the main shutoff.
Identify the water before touching it
A failed supply line can release clean water. A toilet backup, sewage overflow, drain backup, or water that has traveled through contaminated areas should be treated as suspect from the beginning. Don't use the same gloves, shoes, tools, or cleanup approach for both situations.
The NIH moisture-remediation guidance treats the first 24 to 48 hours as the critical response period for limiting mold growth. If you don't know how long the material has been wet, treat it as though the moisture has existed for more than 48 hours, and be more conservative about handling porous materials.
Leave the building if you see any of the following:
- Sagging ceilings: A wet ceiling can fail without much warning.
- Gas odor: Leave immediately and contact the appropriate emergency service from outside.
- Electrical arcing: Sparks, buzzing, smoke, or scorch marks require professional intervention.
- Unstable flooring: Avoid areas where subflooring may have weakened.
- Contaminated flooding: Sewage or heavily polluted water calls for trained cleanup and protective equipment.
What to skip
Don't run a wet vacuum through standing water that may contain sewage. Don't touch electrical equipment while standing in water. Don't use household fans to blow contaminated droplets through the building, and don't open walls blindly before documenting the condition.
If the space is safe and the water is clean, move loose belongings off the floor and contain the spread with towels or plastic tubs. Keep your first goal narrow: stop the source, protect people, and preserve enough evidence to make sound decisions.
When You Can Handle It Yourself and When to Call a Pro
DIY water damage mitigation can work for a small, clean loss that you can start drying within hours. It's usually reasonable when the affected area is under about 10 square feet, the water clearly came from a clean supply line or rain on a hard floor, drywall isn't wicking above the baseboard, and you can use a proper dehumidifier rather than relying on fans.
The decision changes quickly once moisture enters porous materials or hidden spaces. Wet carpet pad, cupping hardwood, contaminated water, drywall that has wicked more than a foot, or moisture that has remained for 24 to 48 hours belongs with a professional.
| Factor | DIY Is Usually Fine | Call a Pro |
|---|---|---|
| Water type | Clearly clean supply water or rain | Suspect, gray, black, sewage, or unknown water |
| Affected area | Under about 10 square feet | Multiple rooms or a spreading area |
| Wall condition | Drywall isn't wicking above the baseboard | Drywall is wet high on the wall or inside cavities |
| Flooring | Hard, stable surface with no visible distortion | Wet pad, cupping hardwood, buckling, or soft subfloor |
| Timing | Drying can begin within hours | Water has remained for 24 to 48 hours or longer |
| Equipment | You have a real dehumidifier and moisture meter | You need commercial extraction, monitoring, or demolition decisions |
A professional team brings more than a truck-mounted vacuum. Expect commercial air movers, high-capacity dehumidifiers, pin and non-invasive moisture meters, containment materials, and a documented drying plan. Depending on the loss, the scope may include removal of unsalvageable materials, antimicrobial treatment, daily readings, equipment placement, and coordination with the insurer.
You should understand what a quote covers. Ask whether extraction, demolition, drying equipment, monitoring, documentation, antimicrobial work, disposal, and rebuild coordination are separate line items. This guide to what a restoration company does can help you compare the mitigation role with plumbing, electrical, and reconstruction work.
A cheap extraction followed by no moisture verification isn't a complete mitigation job.
Drying the Structure Without Creating a Bigger Problem
Drying isn't a matter of stacking machines in the middle of a room. It's a controlled system that moves moisture out of materials, into the air, and then out of the building through dehumidification.
Start with a moisture map. Use a pin meter for direct readings in materials and a non-invasive meter to scan broader areas. Look beyond the visible outline. Cabinets, toe-kicks, baseboard pockets, wall cavities, insulation, and subfloors can stay wet after the floor surface feels dry.
Build the drying system
For a straightforward clean-water loss, pair air movement with dehumidification. The supplied field guidance describes one refrigerant dehumidifier per 500 square feet of affected area, preferably a low-grain refrigerant model, and enough air movers to keep air moving across wet surfaces. Don't aim one blower at a single spot and assume the room is drying evenly.
Keep indoor humidity under 40% and the temperature above 70°F so the refrigerant dehumidifier can pull moisture from the air effectively. Dehumidification isn't optional. As this water-damage guideline explains, moisture released from materials must be removed from indoor air, or it can create secondary damage and a health hazard.
Typical drying may take 3 to 5 days for clean water affecting drywall and pad, and 5 to 7 days for carpet and subfloor, according to the supplied industry guidance. Gray or black water generally requires more extensive handling and can take longer.
Open hidden moisture carefully
Pull baseboards where appropriate and create ventilation openings in drywall cavities when a qualified professional determines that access is necessary. The point is to release trapped moisture, not to create unnecessary demolition.
Don't close the room too early. Don't rely on sight or touch. Don't add heat without dehumidification, because heat can push moisture into the air and redistribute it into other materials. Daily meter readings and psychrometric records should continue until the affected materials reach the defined drying goal. A published reference to the IICRC S500 identifies that goal as returning materials to within 2 to 4 percentage points of unaffected reference materials in the same building, as noted in the NIH remediation procedure.
Documenting Everything the Adjuster Will Ask For
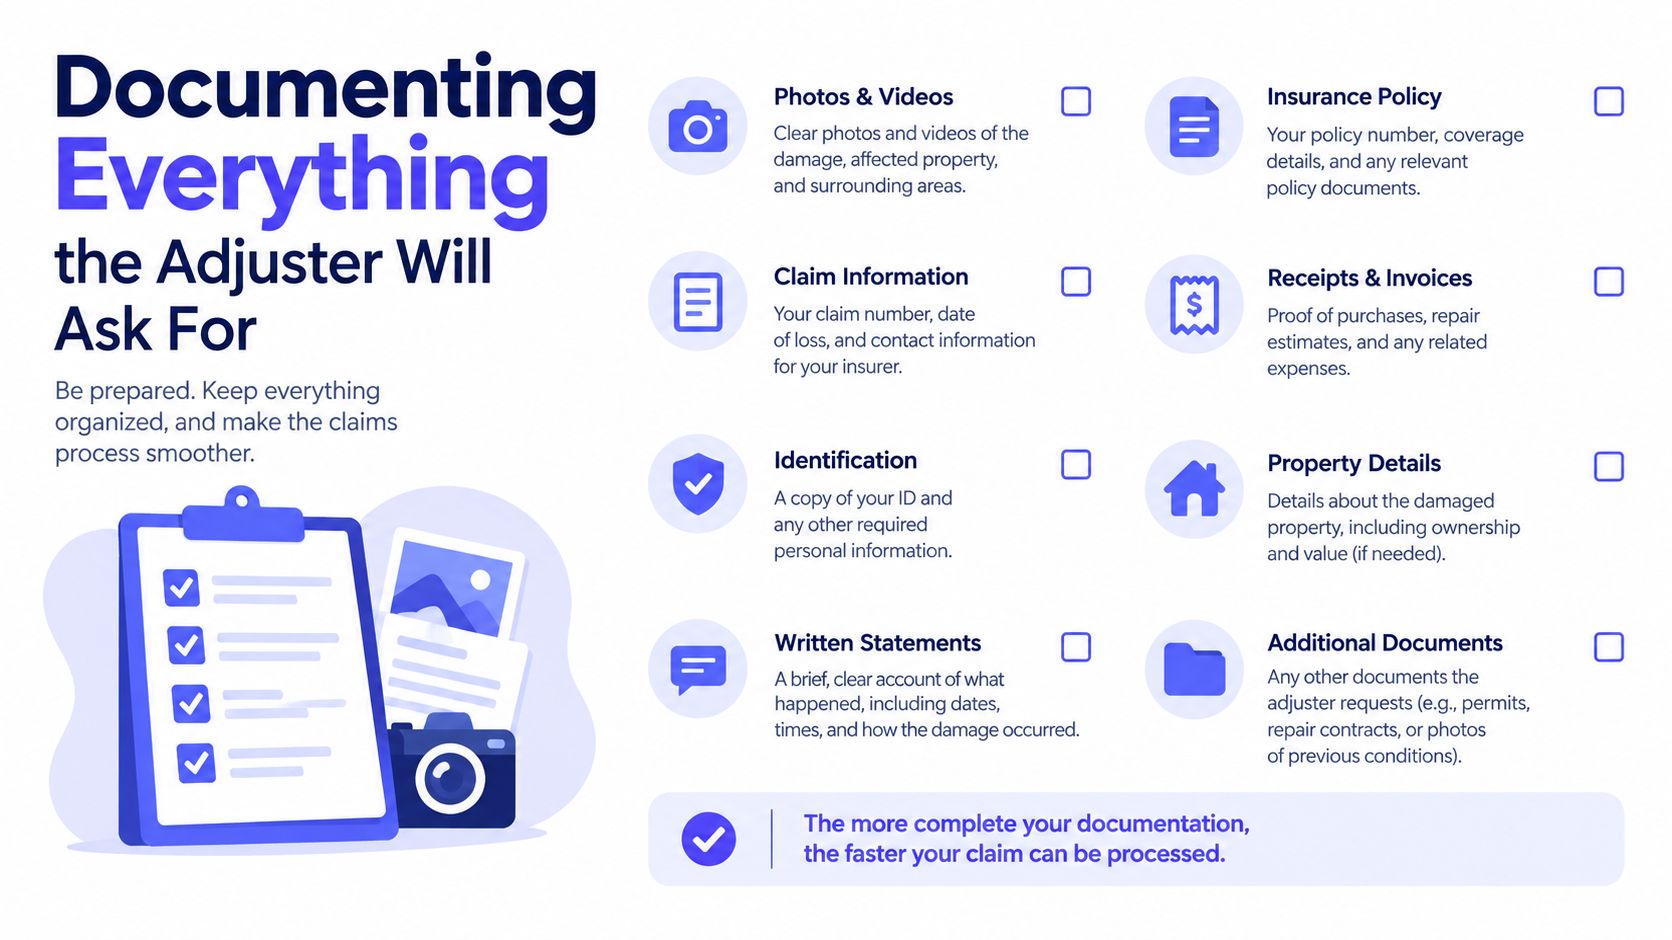
Start the log when you find the water, not when the adjuster calls. Photograph the source first, then the spread pattern, then individual damaged items. For each area, take wide shots that establish location, medium shots that show the damage pattern, and close shots of materials and identifying details.
Record a short video while walking through the space. Narrate the date, time, location, suspected source, and what you see. A continuous walkthrough gives the claim a clearer sequence than a folder of unrelated images.
Keep one clean record
Use one shared folder for the timeline, photos, invoices, estimates, and communications. Write down:
- Discovery time: When you found the water and what was visibly affected.
- Source control: When you shut off a valve, stopped a pump, or called a plumber.
- Professional contacts: Every call to a plumber, mitigation company, electrician, or insurer, including notes and costs.
- Equipment expenses: Dehumidifier rentals, water-vac purchases, protective supplies, and mileage to the hardware store.
- Contents inventory: Room, item, brand, age, condition, and replacement value where you can document it.
Keep receipts, even for small purchases. Save the original photographs rather than only compressed versions, and photograph serial numbers, model labels, and damaged packaging when they help establish ownership or value.
Don't throw away saturated belongings until the adjuster gives written clearance. If disposal is unavoidable for health or safety reasons, photograph the item from multiple angles, record its condition, and keep disposal records. Undocumented disposal can remove an item from the conversation before anyone has evaluated it.
The same discipline applies to drying. Save equipment serial numbers, daily moisture readings, humidity records, room diagrams, and final dry readings. Current industry reporting says insurers are placing more emphasis on daily drying logs, psychrometric data, equipment serial numbers, and structured evidence before invoices are approved, as described in this restoration industry update.
For a plain-language overview of claim preparation and professional coordination, use this homeowner insurance claims resource. Your objective isn't to exaggerate the loss. It's to make the loss easy to verify.
Stopping the Next Flood Before It Starts
A leak sensor under the kitchen sink is useful, but it's a smoke detector, not a sprinkler system. It can tell you that water is present. It usually can't stop the water from continuing to flow while you're asleep, traveling, or away from the house.
The stronger setup combines detection with active shutoff. Industry guidance describes point sensors as useful on their own, but more effective when paired with automatic shutoff valves. It also cites a claim that over 90% of water-damage claims could be avoided with automated leak detection and mitigation systems, as reported in the Beyond the Puddle white paper. Treat that figure as an industry claim, not a guarantee for your property.
Build prevention around failure points
Smart whole-home valves such as Moen Flo and Phyn Plus sit on the main line, learn normal flow patterns, and can close the supply when they detect a burst pipe or a running faucet at 2 a.m. Add point-of-use sensors with automatic shutoff at the washing machine, dishwasher, ice maker, and water heater.
Replace rubber supply lines with braided stainless lines at toilets, faucets, and appliances. This is a modest upgrade, but it addresses common connection points where a small failure can release water for hours.
A sensor that alerts you after the damage starts is useful. A sensor that can close the valve is mitigation.
Test the sump pump annually by lifting the float and confirming that it starts and discharges water correctly. Add a battery or water-powered backup where practical. A pump without power during the storm that floods the basement isn't protection.
Insulate attic and exterior-wall pipes, especially where freezing is possible. Label the main shutoff and make sure everyone in the household knows how to reach it. Prevention works best when the hardware and the human response support each other.
Your Post-Mitigation Checklist
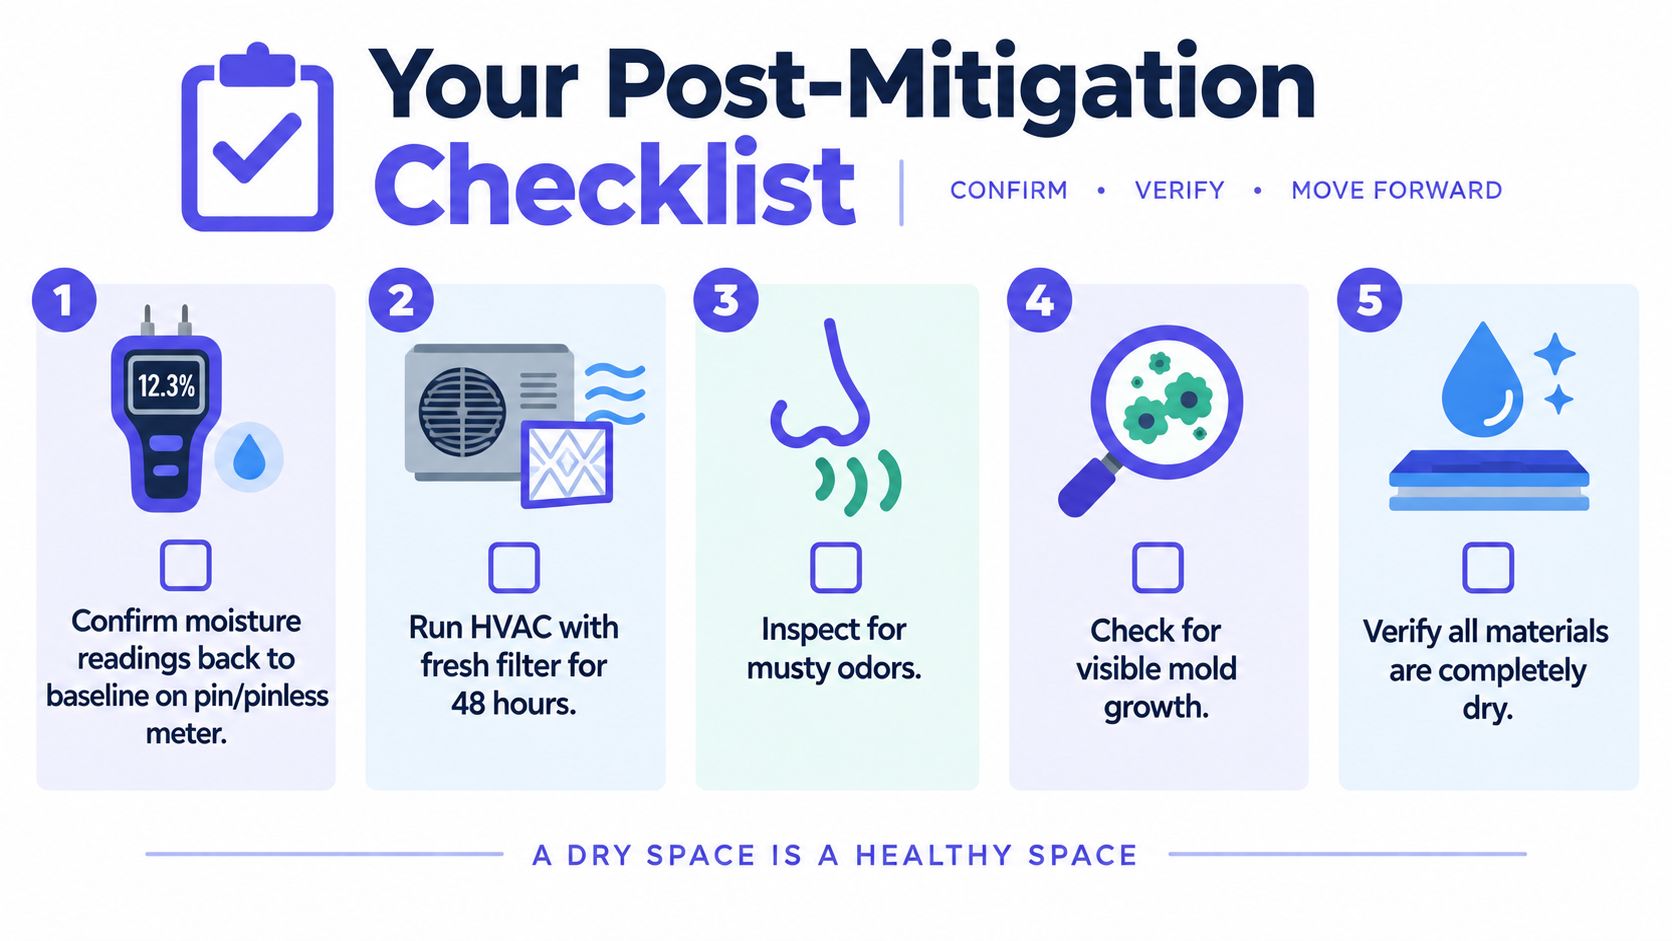
Before equipment leaves or walls are closed, verify the result instead of trusting appearances. A room can smell normal and still contain moisture behind a baseboard, below a cabinet, or inside insulation.
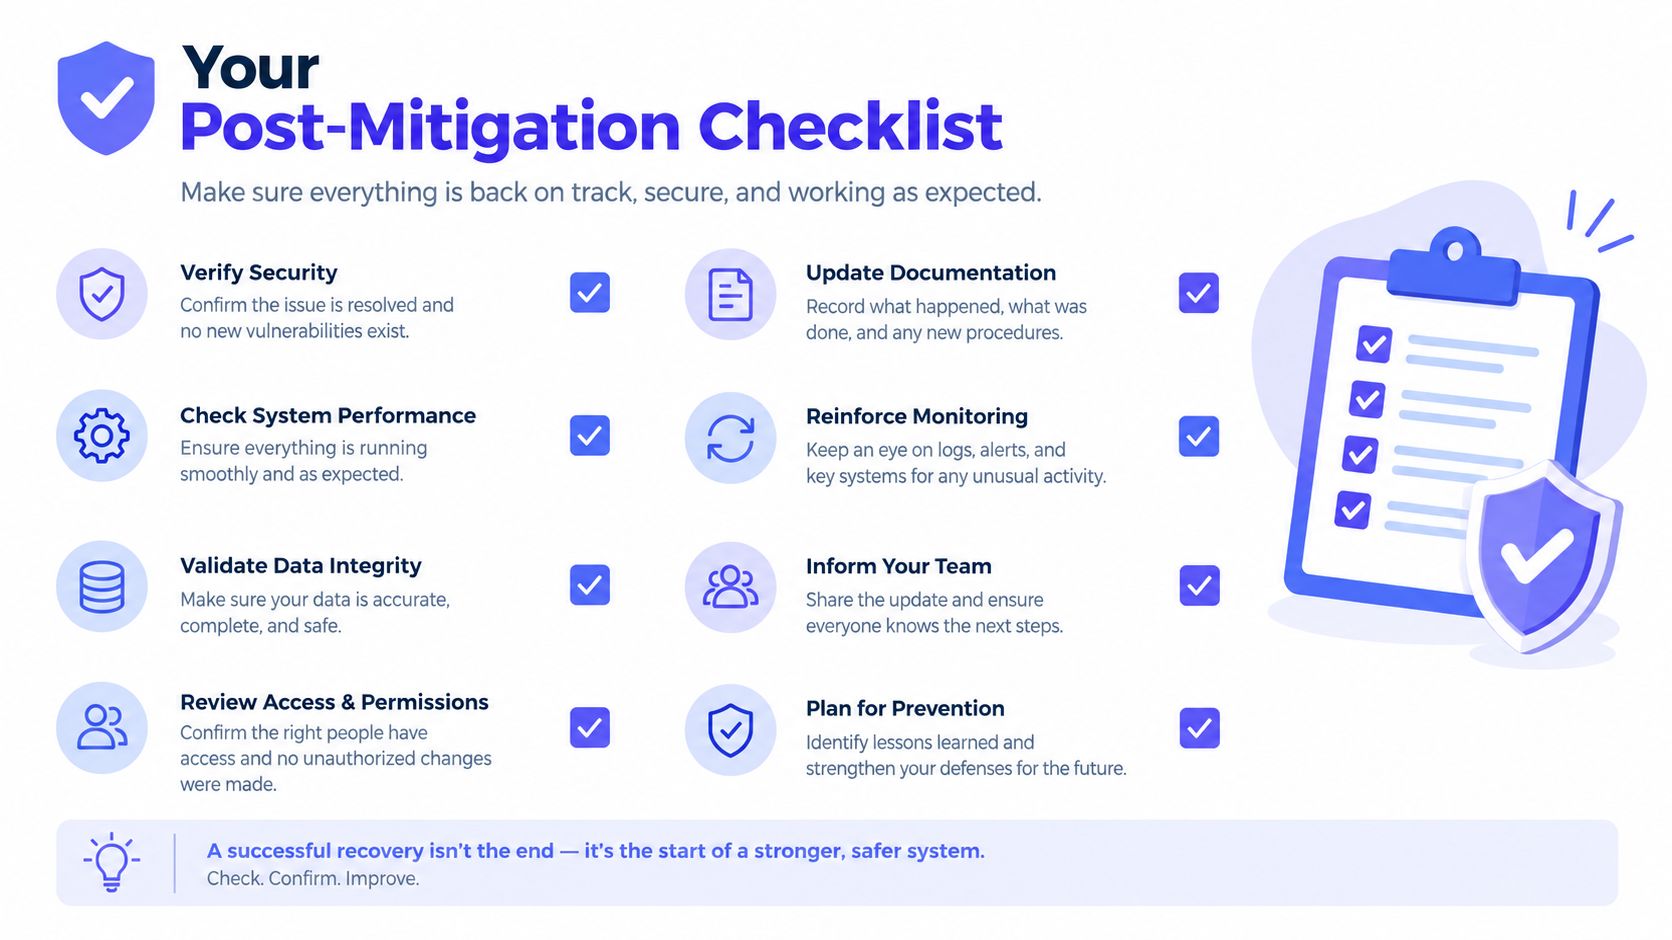
Use this as a utility-closet checklist:
- Confirm readings: Check that pin or pinless meter readings have returned to the unaffected baseline, and photograph the final readings.
- Run the HVAC: Use a fresh filter and run the system for 48 hours after drying, provided the system itself wasn't affected or contaminated.
- Inspect for odors: Look for musty smells in closets, cabinets, wall edges, and flooring transitions.
- Check for mold: Examine visible surfaces and concealed areas opened during mitigation.
- Reset water controls: Clean and reset sump and backflow valves, then confirm that discharge paths are clear.
- Replace persistently wet drywall: Drywall that stayed wet past 72 hours should be evaluated for replacement rather than sealed behind paint.
- Re-insulate closed cavities: Replace wet insulation and make sure repaired cavities are dry before the next cold snap.
- Send the record: Provide the insurer with the drying log, equipment details, photographs, and final moisture readings in writing.
- Schedule a follow-up: Check for musty odors again in six weeks, especially where walls, flooring, or cabinets were opened.
Don't confuse a clean-looking room with a verified dry structure. The practical finish line is documented moisture control, safe materials, functioning pumps and valves, and a record that another person can review.
If the affected area exceeded one room, water sat for more than 24 hours, or flooring and trim are warping, matching with a verified local mitigation professional is safer than renting more equipment and hoping. Get the source controlled, the structure measured, and the paperwork organized before reconstruction begins.
Hand Vetted Co. connects you with one licensed, background-checked, 4.5+ star rated water-damage professional instead of sending your request to multiple businesses. Visit Hand Vetted Co. to answer a few questions about the loss and receive one exclusive match for the work.