You notice it after a storm, or maybe while trimming a hedge, a panel is cracked, loose, or hanging wrong. The good news is that siding problems usually start small, and a lot of them can be fixed cleanly if you match the repair to the material and the cause. The bad news is that the wrong fix can trap water, make the damage come back, or leave the wall looking worse than before.
This guide keeps it practical. You'll get the repair logic for vinyl, wood, and fiber cement, the tools that matter, and a clear way to decide when the damage is still DIY territory and when it's time to bring in a professional. If you're also trying to understand what a siding failure means for coverage, this homeowners insurance guide is a useful place to start.
Table of Contents
- Your Siding Is Damaged Now What
- Diagnose the Damage and Gather Your Tools
- How to Repair Vinyl Siding
- Fixing Wood and Fiber Cement Siding
- Common Siding Repair Mistakes to Avoid
- When to DIY vs Call a Siding Professional
Your Siding Is Damaged Now What
The first sign is often simple. You're outside after a wind event, or you're doing routine yard work, and you spot a cracked panel, a loose edge, or a section that doesn't sit flat anymore. That moment matters because siding damage rarely stays cosmetic for long if water can get behind it.
Start by asking one question. Is this a surface problem on one piece, or is it part of a bigger run that may have hidden rot, fastening trouble, or movement issues? That distinction tells you whether you're doing a localized repair or dealing with a wall system that needs more than a patch.
Practical rule: if the damage looks isolated, a careful repair may hold. If the wall feels soft, the panels keep shifting, or the opening keeps coming back, treat it as a system problem, not a spot fix.
For a lot of people, that's the hard part. The wall still looks mostly intact, so the temptation is to snap the piece back together and move on. But siding is a layered skin, and the repair has to match the material's behavior, not just its shape. If you get the cause wrong, you're just hiding the issue until the next rain or freeze cycle exposes it again.
That's why the next step is diagnosis, not grabbing caulk first. The right repair depends on whether you're dealing with vinyl movement, wood decay, or a rigid material like fiber cement. And if the wall damage is tied to a larger exterior project, aluminum siding cost is the kind of context people often check before deciding whether repair still makes sense.
Diagnose the Damage and Gather Your Tools
Start with the actual failure, not the visible symptom
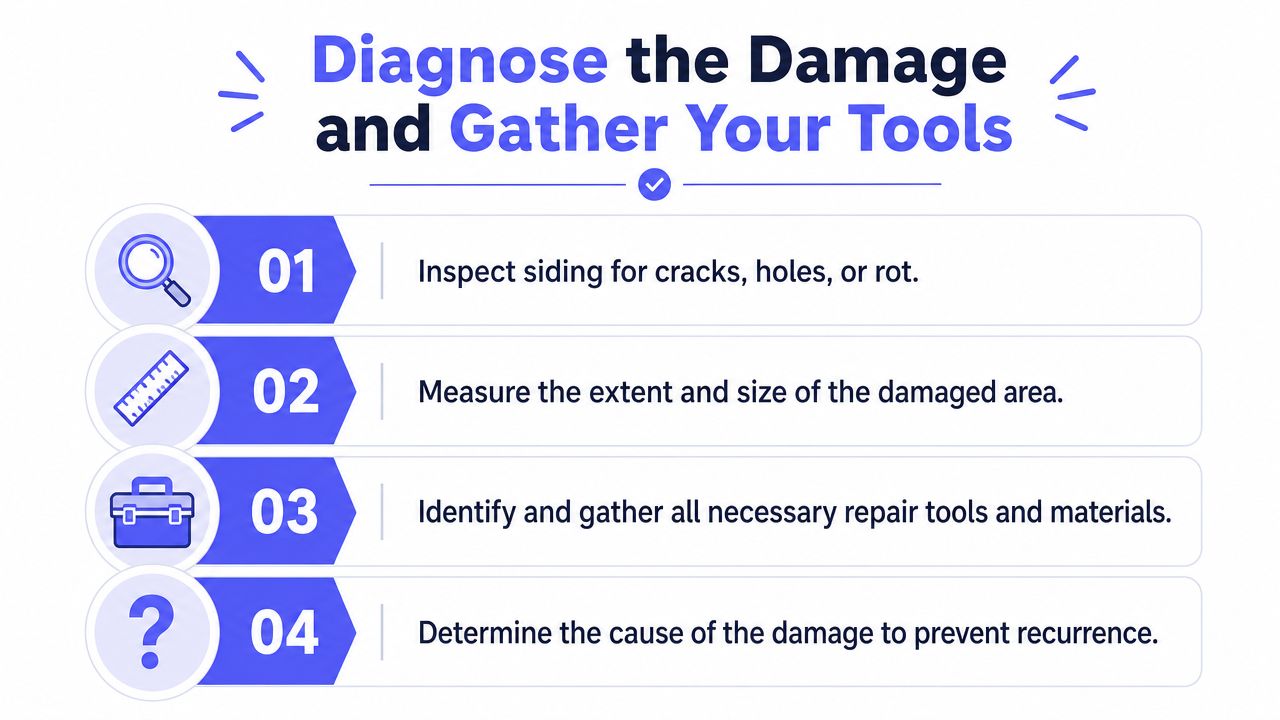
A cracked panel and a leaking wall are not always the same problem. Look for loose edges, punctures, missing sections, soft spots, separated seams, and discoloration that suggests moisture intrusion. If wood feels spongy or crumbly, you're probably past a cosmetic repair.
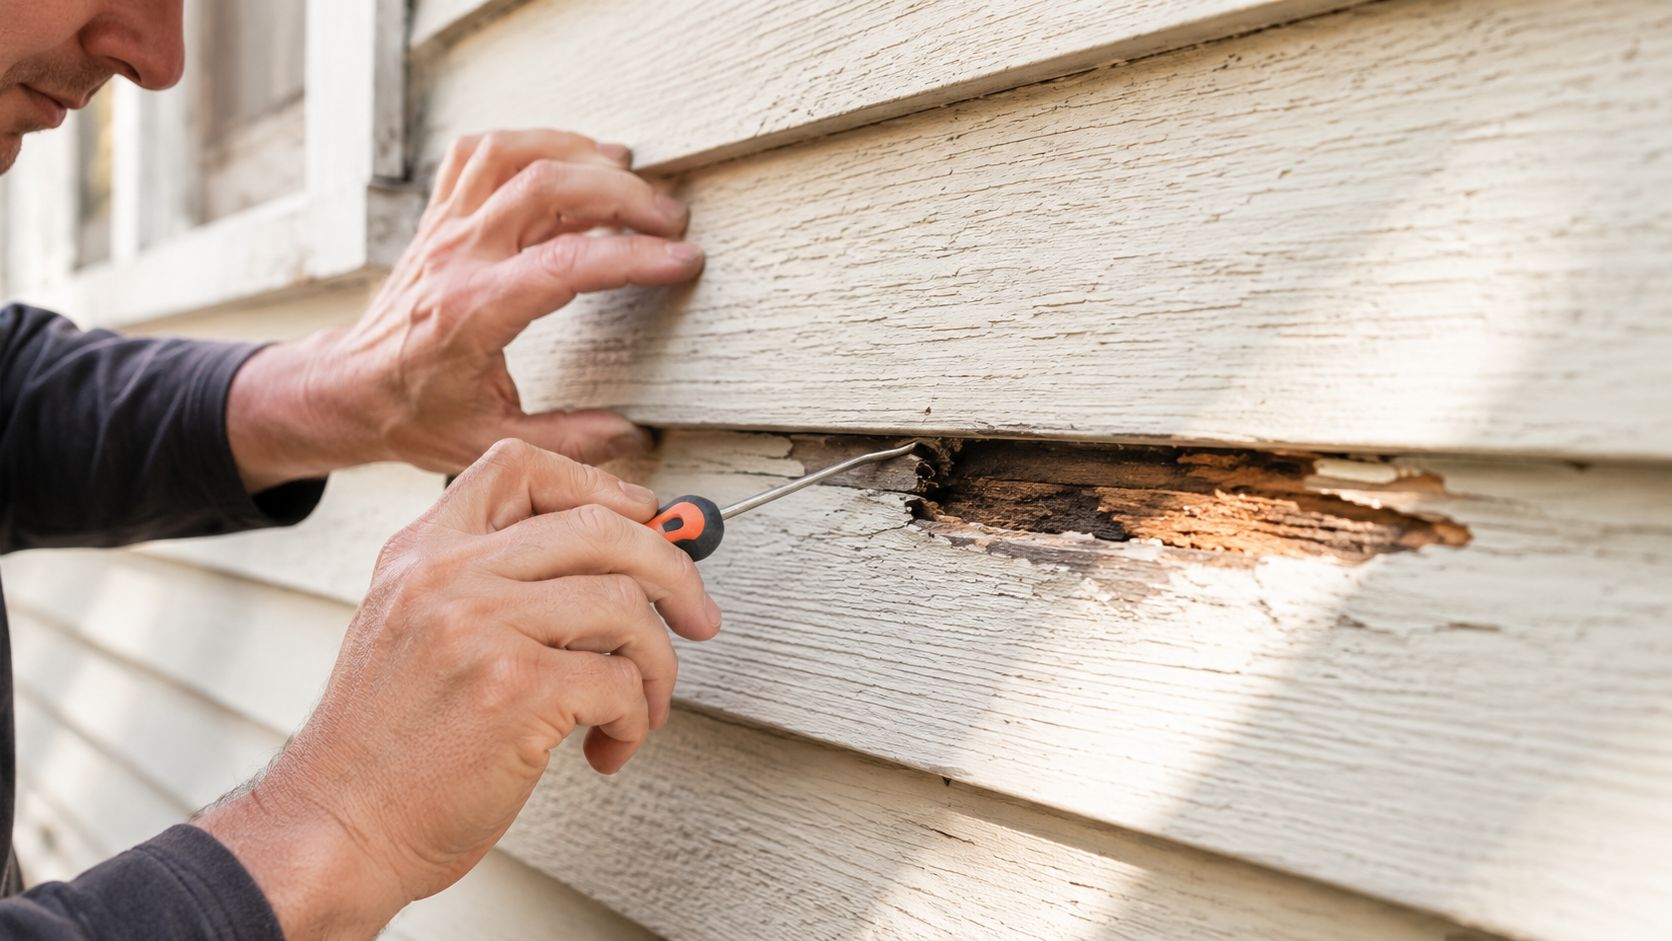
A screwdriver probe is useful on wood because soft rot often hides under paint or caulk. On vinyl, the bigger clue is usually movement, not softness, since the panel may have loosened because it was fastened too tightly or never had room to move.
Gather tools once and save yourself a second trip
Most repair jobs benefit from a basic kit. A hammer, utility knife, measuring tape, pry bar, caulk gun, painter's tape, exterior caulk, sandpaper, and replacement material will cover a lot of ground. Vinyl repair also often calls for a zip tool so you can disengage and re-engage panels without breaking the locking edge.
A good siding repair starts with matching the wall's behavior, not forcing the wrong material to behave like the right one.
If you're doing a patch job, small details matter more than flashy tools. For vinyl, that means a clean cut line and a proper overlap. For wood, it means removal of every compromised section before filler goes in. For fiber cement, it means using a patch that matches the material, not an all-purpose filler that will fail under movement.
It also helps to think about the cause. Was the siding hit by wind, installed too tightly, or exposed to years of moisture? That answer changes the repair strategy, and it's the difference between a one-time fix and a recurring problem. If you want a second opinion on whether a repair is worth doing at all, Handvetted's standards page is a useful reference point for what a vetted professional should be able to assess before any work starts.
How to Repair Vinyl Siding
Why vinyl needs room to move
Vinyl siding expands and contracts with temperature changes, so the fastening pattern has to allow for movement. A DIY guide for vinyl siding says to leave nail heads slightly loose, about 1/32 inch, and to place fasteners about every 16 inches so the panel can move without buckling DIY guide to vinyl siding repair. That's not a suggestion for looks, it's the whole logic of the system.
If vinyl is nailed tight, it can't slide as the temperature changes. The result is buckling, popped locks, or a panel that loosens again even after you reattach it. So the goal is always controlled movement, not rigid fastening.
Replacing a full panel
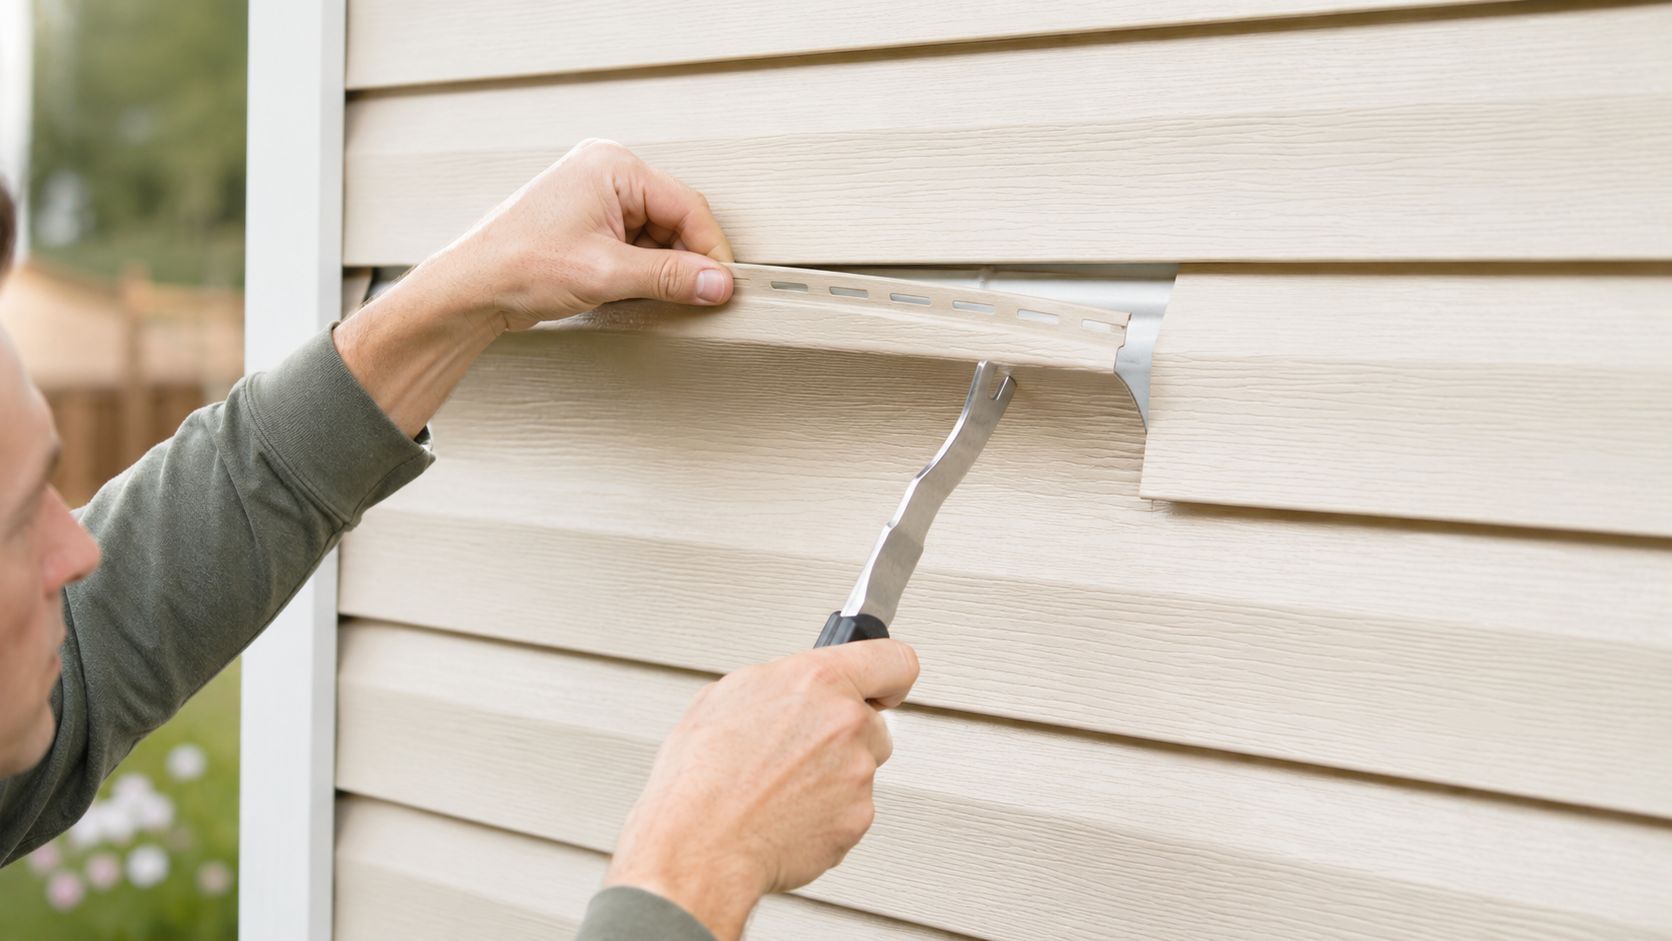
When a section is badly cracked or torn, a zip tool is the cleanest way to release the damaged panel. Work from the bottom edge upward, release the interlock, pull the fasteners, and slide the old piece out without damaging the neighboring boards. Then fit the replacement so the locking profile lines up exactly with the run above and below it.
For patching a section instead of replacing the whole panel, the same guide recommends about a 1-inch horizontal overlap at the ends of the replacement piece and trimming roughly 2 inches from the nailing flange at both ends. That overlap matters because vinyl needs enough engagement to shed water while still flexing as a unit.
Small holes and cracks
For small defects, the repair sequence is different. Clean and dry the area first, then lightly sand with 220-grit to degloss the factory finish, apply patch compound slightly overfilled, and let it fully cure before sanding it flush and repainting with exterior vinyl paint Home Depot siding repair guide. Skipping the cure stage is a common mistake because uncured patch material can shrink or telegraph through the finish.
Practical rule: if the panel is loose because it was installed too tight, fixing the symptom without correcting the fastening usually means the same panel will fail again.
For a clean repair, keep the overlap consistent, the fasteners loose enough for movement, and the finish matched as closely as you can. Vinyl repairs look best when they disappear into the run, not when they look like they were slammed into place. That's why the careful part is just as important as the replacement part.
Fixing Wood and Fiber Cement Siding
Wood siding and moisture control
Wood siding repair starts with decay, not cosmetics. Lowe's recommends probing for soft spots with a screwdriver, carving out compromised wood, and treating the area with wood hardener before you install epoxy filler or a replacement board Lowe's wood siding repair guide. That sequence matters because filling rot without removing it only hides the failure for a while.
Once the bad wood is gone, the repair shifts into preservation. Use galvanized nails for new boards, seal seams with exterior-grade caulk, then prime and paint or stain the repaired surface. The repair isn't done when the patch looks smooth, it's done when the moisture path is blocked and the finish can protect the exposed material again.
Fiber cement needs a material-matched patch
Fiber cement behaves differently because it's a cement-based product, even if it resembles wood. That's why a cement-based patch is the right choice, not wood putty fiber cement repair guide. Clean the area, mix the patch to the manufacturer's directions, apply it with a plastic putty knife, let it dry, then sand lightly and repaint.
Joint spacing matters too. A cited installation rule for fiber cement is an 1/8-inch gap between joints, and the repair example keeps that gap before caulking fiber cement joint guidance. That space gives the material room to move and still lets the joint seal properly.
If the finish is badly faded, a localized paint touch-up may look uneven. In some cases, repainting the whole wall is the cleaner result. That's not overkill, it's how you avoid a repair that technically works but still stands out every time you walk past it.
Common Siding Repair Mistakes to Avoid
Loose vinyl gets snapped back in all the time, and that's where a lot of DIY repairs go sideways. The problem is that loose siding is often a sign of installation error, not just isolated damage, so the panel can come loose again if the underlying cause isn't fixed vinyl looseness repair demo. Overdriven fasteners and no thermal movement space are the usual suspects.
The mistakes that cost the most
The most common repair errors are pretty predictable:
- Leaving rot in place: If wood is soft underneath, filler won't save it.
- Using the wrong caulk: A sealant that can't bond or paint well can make the repair fail fast.
- Underfilling cracks or holes: A shallow patch shrinks or leaves a dip after cure.
- Skipping paint matching: The repair may hold, but it'll still announce itself.
- Forcing tight fasteners on vinyl: That blocks movement and invites buckling.
Each one sounds minor. None of them is minor once water gets involved.
Practical rule: a repair should solve the reason the siding failed, not just cover the visible mark.
The hardest part for many people is accepting that a good patch can still look slightly different if the wall is weathered. Faded siding, especially on sun-exposed walls, is difficult to match perfectly. That's normal. What's not normal is leaving hidden moisture, loose framing, or movement issues in place and hoping the surface work will hold everything together.
The smarter approach is to treat the repair like a small exterior system fix. Remove the bad material, address the fastening or decay problem, seal correctly, and finish it cleanly. That takes a little more time, but it saves you from doing the same job twice.
When to DIY vs Call a Siding Professional
DIY makes sense when the damage is limited
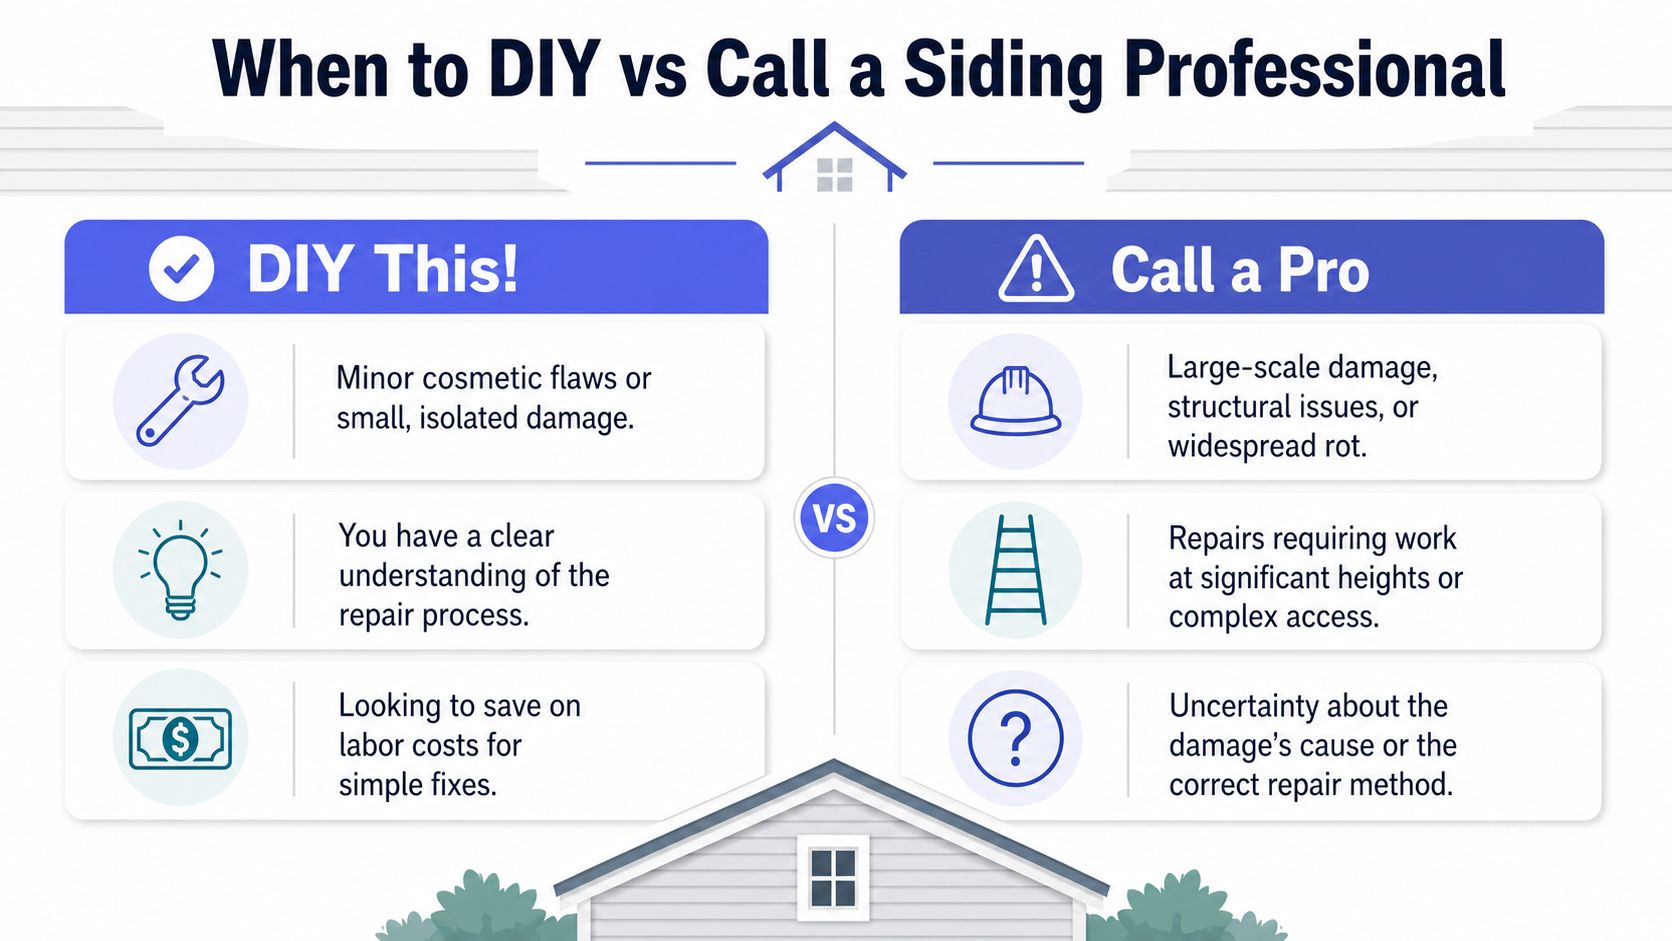
A small crack, a single loose panel, or a clean patch on one board is often fair DIY territory if you understand the material and the wall is otherwise sound. The job is more reasonable when you can see the damage clearly, reach it safely, and trace the failure to one specific issue. That's the kind of repair where patience pays off.
Call a pro when the wall is telling you more
Widespread damage, hidden rot, repeated loosening, or anything that suggests structural trouble belongs with a professional. The biggest risk is not the visible defect, it's the unseen condition behind it. A major challenge for people is deciding when to repair versus replace siding, because most how-to content focuses on simple patches and gives little guidance on structural limits or hidden rot PJ Fitzpatrick siding repair guidance.
Height matters too. If the repair needs a tall ladder, awkward access, or work near roofs, trim transitions, or foundation transitions, the safety margin drops fast. The same goes for walls where siding meets concrete, windows, or other terminations that need more than a quick cosmetic fix. If you're not fully sure what caused the damage, that uncertainty alone is a good reason to pause.
Good rule of thumb: if the repair is likely to expose more damage than you can verify, it's time to stop and get another set of eyes on it.
That's where a vetted pro can save time and avoid repeat work. If you'd rather skip the guesswork, Handvetted's contractor background check gives you a clear benchmark for what a qualified match should bring to the job, and it's a lot better than picking from a random list.
If your siding damage is small and visible, take the time to diagnose it correctly, match the repair to the material, and fix the cause before you close it up. If the wall shows soft spots, repeated loosening, or anything that feels bigger than a patch, get a professional opinion before you spend money on the wrong repair. For a straightforward next step, visit Handvetted and get matched with a single verified professional who's right for the job.