Can a low-cost home project save money if you choose the wrong job, miss hidden damage, or have to pay someone to redo it? A limited improvement budget can disappear quickly when the scope is vague or a preventable mistake turns a simple refresh into a repair.
The best DIY home projects on a budget start with low-risk work that improves appearance, comfort, or storage without disturbing the home's core systems. This list ranks ten practical options by value, with estimated material costs, timeframes, difficulty, money-saving tactics, safety limits, and a clear point where hiring a professional makes more sense.
The cost gap between DIY and professional work can be substantial. The U.S. Census Bureau's American Housing Survey period covering 2019 to 2021 recorded about 135 million home-improvement projects and approximately $624 billion in total spending. DIY work represented about 53 million projects, or 39% of the total, but only 20% of spending. The average DIY project cost about $2,500, compared with $6,350 for a professional job, according to NerdWallet's analysis of the home-improvement survey.
That doesn't mean every project belongs on your weekend list. Inspect for underlying damage first, and don't treat electrical systems, major plumbing, structural changes, roofing, or hazardous materials as casual DIY tasks.
Core rule: Save money on labor only when the work is safe, permitted where required, and within your skill level.
Table of Contents
- 1. Paint and Refresh Interior Walls
- 2. Install New Hardware and Fixtures
- 3. Weatherstrip Doors and Windows
- 4. Caulk Gaps and Improve Sealants
- 5. Create Floating Shelves and Storage
- 6. Refresh Grout and Tile Surfaces
- 7. Install or Upgrade Insulation
- 8. Build Basic Shelving Units and Storage
- 9. Patch and Repair Drywall
- 10. Seal and Stain Concrete Floors and Surfaces
- 10 Budget DIY Home Projects Comparison
- Know When the Budget DIY Ends
1. Paint and Refresh Interior Walls
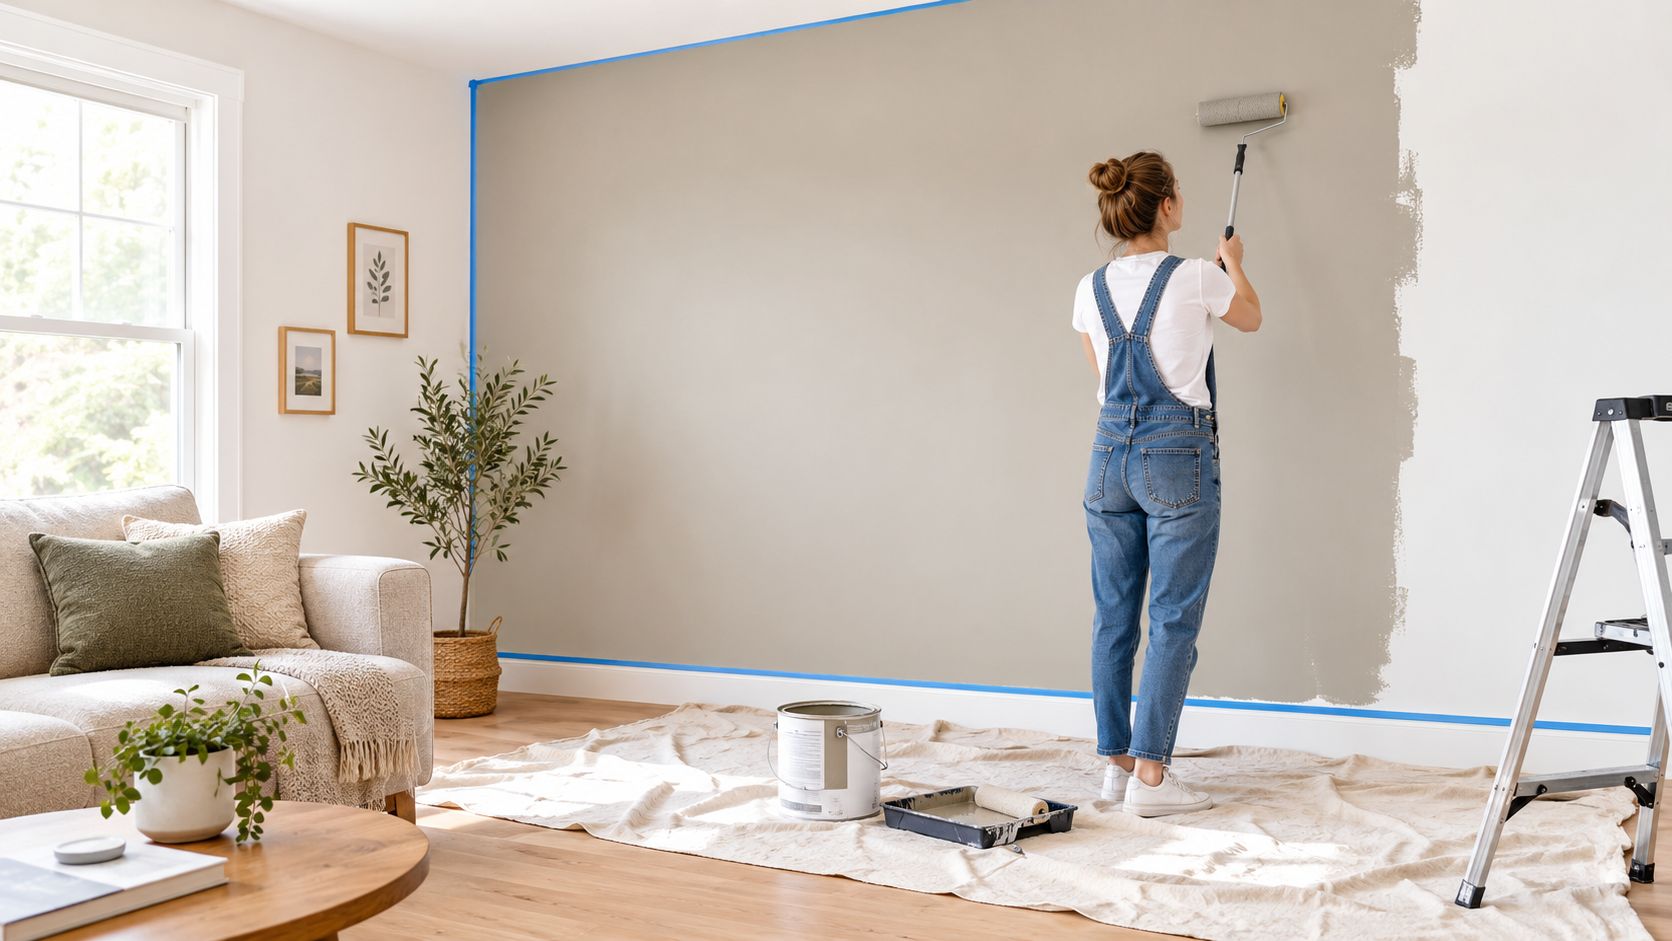
Few projects change a room faster than paint. A careful refresh can cover dated color, scuffs, and uneven visual wear without changing the room's layout or finishes.
For planning purposes, set aside a weekend for one room and budget qualitatively for paint, primer, rollers, brushes, drop cloths, painter's tape, patching compound, and sandpaper. The final cost depends on room size, surface condition, paint quality, and whether you need multiple coats. A guide to the average cost to paint an interior house can help you compare the material-only route with professional labor before you buy supplies.
Choose a finish based on use. Matte hides minor wall imperfections, satin handles busy rooms more easily, and semi-gloss is practical for trim and surfaces that need frequent cleaning. Neutral greige can modernize dated beige walls, while a sage accent wall can add interest without repainting the entire room.
Make preparation do the saving
Clean the walls, patch holes, sand glossy areas, and prime stains before applying finish paint. Cheap paint can require extra coats, so the lowest price per container isn't always the lowest project cost. Quality coverage can reduce waste, cleanup, and repeat work.
Paint under stable conditions, with ventilation and moderate humidity. Start with a small room if you're inexperienced, then move to larger spaces once you understand how quickly the paint dries and how much edging the room requires.
DIY is the right choice when the walls are sound, the room is accessible, and you can work carefully around trim and outlets.
Hire a professional if you find extensive water staining, peeling caused by a moisture problem, lead-based paint concerns, or wall damage that suggests a larger repair.
2. Install New Hardware and Fixtures
Replacing cabinet pulls, door knobs, switch plates, outlet covers, and faucet aerators delivers a strong visual change without demolition. It's also easy to reverse if the finish or style doesn't work.
Plan for a small hardware project rather than a whole-room overhaul. A modest collection of knobs, pulls, plates, and basic supplies can stay within a manageable materials budget, but exact pricing depends on the product and quantity. Take a photo of every existing piece before removing it. Measure screw-hole spacing, because a new pull that doesn't match the existing holes can create extra patching and repainting.
Test one cabinet first. That single step catches problems with spacing, alignment, screw length, and finish before you commit to the whole kitchen.
Coordinate the details
Matte black handles can make older cabinets feel more current. Brushed nickel may work better beside an existing mirror frame or stainless appliance. You can mix metals, but do it deliberately. Random finishes make inexpensive updates look disconnected.
Buy a few extra pieces when the price is reasonable. Spares help with mistakes, future replacements, and discontinued product lines.
DIY works well for cabinet hardware, door hardware, switch plates, and outlet covers when you can shut off the relevant circuit for plate replacement and follow the product instructions.
A light-fixture swap deserves more caution. If you're not fully comfortable identifying wires, confirming the circuit is dead, supporting the fixture, and completing the connection correctly, hire an electrician. Faucet work beyond an aerator replacement also carries water-damage risk. A slow leak inside a cabinet can cost more than the fixture saved.
3. Weatherstrip Doors and Windows
A drafty door or window wastes comfort even when the heating or cooling system works correctly. Weatherstripping closes moving joints around doors and windows, while caulk belongs on permanent gaps that don't need to open.
This is a practical weekend project for people who can identify where air enters and choose the correct profile. Foam tape is easy to apply, but V-strip or tubular weatherstripping can provide a better seal when the gap and door movement call for it.
Start by closing the door or window and inspecting for visible daylight. Feel around the frame on a windy day, or use a safe smoke test away from open flames. Don't compress the strip so tightly that the door becomes difficult to close.
Install for a lasting seal
Clean each surface with a suitable degreaser and let it dry completely. Adhesive-backed products fail when dust, grease, or moisture remains underneath. Measure each opening rather than assuming every side uses the same length.
Replace compressed or damaged strips when they no longer spring back. Combine weatherstripping with carefully applied caulk around fixed trim for a more complete air-sealing approach.
DIY is appropriate when the frame is intact and the issue is a small, visible air gap.
Call a professional if the window is rotted, the door is badly misaligned, condensation is persistent, or you suspect water is entering behind the trim. Sealing over damaged framing can hide the cause and trap moisture.
Apartment residents can often handle removable weatherstripping, but check lease rules before making permanent changes. A garage entry door is another useful target because sealing it can improve comfort in adjacent living areas without altering the main structure.
4. Caulk Gaps and Improve Sealants
Caulk is inexpensive, but the application is unforgiving. A neat bead around trim, a backsplash, or a bathroom fixture can stop drafts and surface water from reaching vulnerable joints. A messy bead can collect dirt, peel early, and make the repair look worse than the original gap.
Use acrylic caulk on interior surfaces that will be painted. Use a kitchen-and-bath silicone product where water exposure is expected. Read the label rather than choosing by color alone, because adhesion, flexibility, mildew resistance, and paintability differ by product.
Remove failure before adding material
Cut out old caulk with a utility knife or caulk-removal tool. Partial removal leaves a weak, contaminated surface, and new caulk may separate from the old bead. Clean and dry the joint before applying anything.
Painter's tape can create sharp edges, but remove it before the new bead skins over. Apply one smooth bead, then tool it lightly. Repeatedly working the caulk introduces voids and pulls material away from the joint.
A bathroom or kitchen refresh may use only a small amount of material, but wait for the manufacturer's cure time before exposing the joint to water or paint. Some products need a full day or longer.
DIY makes sense for sound joints, minor gaps, and routine maintenance.
Stop and investigate if you see soft drywall, swollen trim, recurring discoloration, mold, or water that continues after sealing. Caulk won't fix a failed shower pan, leaking supply line, roof defect, or movement in the structure.
The best example is a backsplash meeting a countertop. That joint is visible, accessible, and usually easy to maintain. A shower joint with recurring movement is a different problem, especially if water has already reached the wall cavity.
5. Create Floating Shelves and Storage
Floating shelves add storage without using floor space, but the mounting system determines whether the project is useful or dangerous. A shelf anchored only to drywall may hold light decoration temporarily, then pull loose as the load increases.
Begin with a stud finder and mark the available studs. If the layout doesn't align with studs, use anchors rated for the actual wall type and intended load. Brackets should be rated for more than the items you plan to store, with a meaningful safety margin rather than a barely adequate rating.
Build around the load
Books, dishes, and tools need stronger support than framed art or small plants. Keep heavy objects close to the supports, distribute weight across the shelf, and check that the shelf stays level after loading it.
Finish wood before installation when possible. Staining or painting on a workbench produces cleaner edges and avoids drips on the wall. A first shelf is a good test of your measuring, drilling, and finishing process before you install a whole display wall.
For a bedroom, shelves can hold books and small plants. In a kitchen, open shelving can replace cabinet doors, but it also exposes dust and requires disciplined loading. In an office alcove, shallow shelves can organize supplies without crowding the floor.
DIY is suitable when you can locate secure attachment points and understand the load.
Use a professional for very heavy storage, masonry walls you can't drill confidently, concealed utilities, or shelves above areas where a fall could injure someone. Don't drill blindly into a wall near plumbing fixtures or electrical devices.
6. Refresh Grout and Tile Surfaces
Dirty grout can make an otherwise serviceable bathroom or kitchen look worn. Cleaning may solve the problem. Regrouting is worthwhile only when the existing joints are deteriorated, missing, or no longer protecting the tile assembly.
Test a small hidden area first. Oxygen-based cleaners can help with stubborn staining, while bleach may damage or discolor some grout and can create hazardous fumes when mixed with other cleaners. Ventilate the room and wear gloves and eye protection.
Clean before you remove
A grout saw or rotary tool can remove failed grout, but tools can chip tile when used aggressively. Remove enough material for the new product to bond, vacuum the dust, and follow the grout manufacturer's mixing and application directions.
Choose color with maintenance in mind. Light grout highlights cleanliness but shows dirt quickly. Dark grout hides some staining but can create a strong visual contrast. After the grout cures, apply the recommended sealer where appropriate and inspect the joints periodically.
A shower with crumbling grout is not merely cosmetic. Water can pass behind tile and damage the substrate. A backsplash joint may be lower risk, while a shower floor, niche, or wall with movement deserves closer inspection.
Use this guide to removing a ceramic tile floor if the surface problem has expanded into a larger removal project.
DIY is reasonable for cleaning, small isolated repairs, and accessible tile with a stable base.
Hire a professional if tiles move, the substrate feels soft, mold keeps returning, or water damage extends behind the surface. Replacing grout over a failed waterproofing system only delays the necessary repair.
7. Install or Upgrade Insulation
Insulation can improve comfort, but it's not a project to start by stuffing material into every open cavity. Air leaks, moisture, ventilation, wiring, recessed lighting, and roof conditions all affect the correct approach.
Inspect the attic, basement, or crawl space first. Identify the existing insulation, look for moisture, and check whether ventilation paths remain open. Air-seal penetrations before adding insulation, because insulation alone won't stop moving air through gaps.
Fiberglass requires gloves, long sleeves, eye protection, and suitable respiratory protection. Keep insulation away from heat-producing equipment unless the product and local requirements specifically allow the installation. Attic work also creates fall and heat risks.
Know the boundary
A simple, accessible attic top-up may suit an experienced DIYer who can move safely and preserve soffit ventilation. Blown-in insulation can reach areas that are difficult to cover with batts, but the equipment, depth control, and air-sealing details still matter.
Stop if you find mold, animal waste, wet insulation, damaged wiring, vermiculite, asbestos concerns, or an unclear moisture source. Don't cover evidence of a roof leak or condensation problem.
A professional is the smarter choice for wall cavities, difficult crawl spaces, hazardous materials, extensive moisture, or any job where you can't verify the existing conditions. Use the average cost to insulate an attic as a planning reference, not as a substitute for an inspection.
Insulation saves money only when the building envelope is dry, ventilated, and correctly sealed.
8. Build Basic Shelving Units and Storage
Freestanding shelving avoids some wall-mounting problems and works well in garages, basements, laundry rooms, and utility spaces. A basic unit made from dimensional lumber or plywood can be adapted to the items you need to store instead of forcing everything into a premade system.
Sketch the unit before cutting. Record width, depth, shelf spacing, and the location of doors, pipes, vents, and appliances. Measure the installation area twice, then confirm that the finished unit can pass through doorways and turn corners.
A simple platform design is a better first build than an adjustable system with complicated joinery. Use a drill, screws suited to the material, a level, a square, sandpaper, and a saw you can control safely. Sand exposed edges before finishing so the shelves don't create splinters.
Stability matters more than appearance
Check the unit for racking before loading it. Add a back brace or diagonal support if it wobbles, and anchor tall storage to wall studs, particularly where children or pets may be present. Keep heavy items low, and don't exceed the fasteners' or shelf material's capacity.
Garage shelving is useful for tools, seasonal items, and garden supplies. Basement units can organize decorations, but never place boxes where they block a sump pump, electrical panel, furnace, or water shutoff.
DIY is a good fit for a straightforward, freestanding design on a dry, level surface.
Hire help if the storage must carry unusually heavy loads, attach to masonry you can't assess, or integrate with electrical, plumbing, or HVAC equipment. A cheap shelf that collapses can damage more than the materials saved.
9. Patch and Repair Drywall
Small drywall damage is one of the most accessible repairs, and completing it before painting prevents minor defects from becoming a visual distraction. Nail holes, shallow dents, and small screw damage usually need only patching compound, a putty knife, sandpaper, primer, and matching paint.
Clean loose paper and dust from the area first. Apply spackle to a small hole, allow it to dry, then sand until the repair is flush. Larger holes need a suitable patch, stable edges, and enough compound to feather the repair into the surrounding wall.
Repair the cause, not just the surface
Sand between coats with fine-grit paper for a smoother transition. Prime the repaired area before painting because fresh compound can absorb paint differently from the surrounding wall and create a visible dull spot.
A furniture impact may be straightforward. A crack that returns, spreads from a corner, or follows a ceiling joint needs more investigation. The same applies to water stains. Painting over a stain without locating the leak can trap a larger problem behind a clean finish.
DIY fits when the damage is small, dry, stable, and clearly understood.
Bring in a professional when drywall is soft, moldy, extensively damaged, or affected by ongoing water intrusion. If the wall may contain hazardous material, don't sand or cut into it until the material has been assessed.
Drywall repair is a good confidence-building project because the tools are simple and the work is easy to stop between coats. It's also a useful test of whether you can follow preparation and cure requirements rather than rushing to the final paint.
10. Seal and Stain Concrete Floors and Surfaces
Concrete sealing can protect a basement floor, garage, patio, or utility surface from stains and moisture exposure while improving its appearance. The finish will only perform as well as the preparation beneath it.
Remove dirt, oil, paint residue, and curing compounds. A degreaser, stiff brush, and suitable cleaning method may be necessary before the surface is ready. Let the concrete dry fully, then test the stain or sealer in an inconspicuous area. Color and absorption can vary across one slab.
Apply thin, even coats rather than one heavy layer. Follow the product's limits for temperature, ventilation, surface moisture, and recoat timing. Keep people, pets, and vehicles off the surface until the label says it's ready for use.
Read the slab before coating it
A damp basement floor may signal groundwater, drainage, or foundation issues. Sealing the surface without addressing that source can cause peeling, trapped moisture, or a false sense of protection. Cracks that move, active leaks, or widespread dampness deserve professional evaluation.
A garage floor can be a manageable project when the slab is sound and dry. A patio in a freeze-thaw climate needs a product compatible with outdoor exposure, and the surface must drain correctly. Inspect the coating periodically and reapply according to the product's maintenance guidance.
DIY is appropriate for a clean, stable slab with a known moisture condition.
Hire a professional for structural cracking, active water entry, contamination, hazardous coatings, or a surface that needs grinding and specialized preparation. The coating is the easy part. Knowing whether the concrete is ready for it is the decision.
10 Budget DIY Home Projects Comparison
| Project | 🔄 Complexity | ⚡ Resources & Speed | 📊 Expected Outcomes | 💡 Ideal Use Cases | ⭐ Key Advantages |
|---|---|---|---|---|---|
| Paint and Refresh Interior Walls | Low, basic prep and technique; high ceilings increase difficulty | Cost: $150–400/room; 1–3 days; roller, brushes, primer | Strong visual impact; resale appeal uplift (~3–5% reported); immediate results | Whole rooms, renters & owners, feature/accent walls | Biggest visual change for lowest cost |
| Install New Hardware and Fixtures | Very low, simple swaps; occasional drilling/alignment needed | Cost: $50–300 total; 4–8 hours; screwdriver, drill, wrench | Noticeable aesthetic update with small investment; quick transformation | Kitchens, bathrooms, doors, closets, incremental updates | Fast, inexpensive aesthetic refresh |
| Weatherstrip Doors and Windows | Low, straightforward install; requires measurement for fit | Cost: $20–60 whole house; 4–8 hours; adhesive strips, scissors | Reduces drafts; energy savings 5–15%; improved comfort and noise reduction | Exterior doors, windows, garage entry, apartments | Fast payback; measurable utility savings |
| Caulk Gaps and Improve Sealants | Low–Medium, technique-sensitive; prep and correct caulk type important | Cost: $15–40 per room; 2–4 hours; caulk gun, remover tool | Prevents water intrusion and heat loss; extends fixture life (5–10 yrs) | Bathrooms, kitchens, window/trim seams | Inexpensive prevention of costly water damage |
| Create Floating Shelves and Storage | Medium, requires stud finding and level installation | Cost: $30–100 per shelf; 1–2 hours each; brackets, lumber, drill | Adds functional storage and visual interest without floor footprint | Living rooms, kitchens, bedrooms, offices | Vertical storage + design feature with low footprint |
| Refresh Grout and Tile Surfaces | Low (cleaning) to Medium–High (full regrout) | Cost: $50–150 for most bathrooms/kitchens; 4–8 hours; cleaners, grout tools | Restores tile appearance; prevents water damage and mold; extends tile life | Showers, backsplashes, kitchen floors before sale | High aesthetic return; preventive maintenance |
| Install or Upgrade Insulation | Medium–High, proper air sealing and technique required; permits possible | Cost: $100–800 (typical areas); 8–16 hours; batts/blown-in equipment, PPE | Energy savings 10–20%; ROI 3–5 years; improved comfort and noise reduction | Attics, basements, crawlspaces in climate-sensitive zones | Largest long-term energy savings and value increase |
| Build Basic Shelving Units and Storage | Medium, basic carpentry skills and accurate measurements | Cost: $50–200 per unit; 4–8 hours; lumber, screws, drill, level | Durable, customizable storage that fits specific spaces | Garages, basements, laundry rooms, utility spaces | Cost-effective heavy-duty custom storage |
| Patch and Repair Drywall | Low–Medium, simple for small repairs; texture matching harder | Cost: $5–30 per repair; 1–2 hours plus drying; spackle/patch kit, sandpaper | Restores surface integrity; prevents moisture damage; prepares for paint | Nail holes, dents, small water- or impact-damaged areas | Quick, inexpensive way to prevent escalation of damage |
| Seal and Stain Concrete Floors and Surfaces | Medium, thorough prep and ventilation required | Cost: $50–200; 6–10 hours plus curing; cleaner, stain, sealer, applicators | Protects concrete, reduces dust, improves aesthetics; extends lifespan 10+ years | Basements, garages, patios, concrete patios | Enhances durability and appearance; prevents moisture and wear |
Know When the Budget DIY Ends
The cheapest project is not always the one with the lowest material price. It's the one you can complete safely, correctly, and without creating a larger repair.
DIY remains a major part of home improvement spending. Harvard's Joint Center for Housing Studies reported that DIY outlays fell 2% to $64 billion in one recent year, while related industry trend coverage reported DIY remodeling spending reached $66 billion in 2021 and the number of homeowners taking on at least one DIY remodeling project increased 17.1% from 2019 to 2021 in Harvard's housing report. The practical lesson is selectivity. People still do plenty of work themselves, but they're not obligated to do every job themselves.
Start with one low-risk project. Confirm that the surface is dry, stable, and free of signs that point to a deeper problem. Price the complete materials list before starting, including consumables, replacement parts, protective equipment, tool rental, disposal, and touch-up supplies.
Set a contingency amount aside before buying materials. Independent renovation guidance recommends holding 10% to 20% for surprises, particularly in older homes, as explained in this renovation cost report. That reserve protects the project from turning into an emergency when you uncover damaged framing, a leak, outdated wiring, or a surface that needs more preparation than expected.
Project scale matters. The Census infographic summarized by Homestery's home-improvement cost report gives a median of $5,000 for owner home improvements, with selected medians of $400 for a security system, $2,000 for flooring, paneling, or ceiling tiles, and $3,500 for a bathroom remodel. Those figures show why “budget” must describe a specific scope, not an entire home.
Remodeling can also expand faster than expected. A Houzz study reported that median remodeling spend rose 60% from $15,000 in 2020 to $24,000 in 2023, and 51% of renovating homeowners spent $25,000 or more in 2023, according to the Census-linked study reference. A paint refresh and a whole-bathroom renovation belong in different decision categories.
Stop and seek a licensed professional when the project involves structural changes, major plumbing, electrical systems, roofing, significant water damage, mold, insulation hazards, permits, or uncertainty about the underlying problem. A professional can also be the right choice when the work affects insurance, resale documentation, or a system that must pass inspection.
If the job exceeds your limits, Handvetted offers a free matching option that connects you with one exclusive professional. Businesses in its network are checked for active state licensing, background screening of owners or operators, 4.5+ star ratings with recent volume, and final human review. You receive one match rather than competing pitches from multiple businesses.
Before buying materials, ask:
- Cost: Have you priced every material, tool, delivery, disposal, and replacement item?
- Time: Can you finish the work without rushing cure times or leaving a critical area exposed?
- Tools: Do you own or can you safely use everything the project requires?
- Safety: Have you identified dust, fumes, falls, electricity, water, heat, and hazardous-material risks?
- Permits: Does your local authority require approval or inspection?
- Professional backup: Do you know exactly which condition would make you stop and call a licensed professional?
Choose the project that matches your skill, not the project that promises the biggest visual transformation. A controlled paint job, shelf, seal, or repair can protect your budget. A rushed attempt at a regulated or hidden system can erase the savings before the finish is complete.
Hand Vetted Co. connects people with one verified professional for renovation and other home-service projects, with licensing, background screening, ratings, recent volume, and human review built into the match. If one of these DIY projects uncovers work outside your limits, visit Hand Vetted Co. to request a free, exclusive professional match.