You've got the PEX roll on the floor, your fitting in one hand, and you're about to make what looks like the easiest cut in the whole job. That's where a lot of first projects go sideways. A sloppy cut doesn't usually fail in a dramatic way. It gives you a connection that almost seats, almost seals, and then starts dripping after the wall is closed.
If you want to learn how to cut PEX the right way, focus less on speed and more on shape. The tubing's memory from being coiled is what causes difficulty. If you don't deal with that first, even a decent cutter can leave you with an angled or slightly oval end.
Table of Contents
- Why a Perfect PEX Cut Matters More Than You Think
- Your PEX Cutter Is Your Most Important Tool
- How to Overcome PEX Memory for a Square Mark
- Making a Clean Perpendicular PEX Cut
- Fixing Crushed Ends and Angled Cuts
- From a Perfect Cut to a Secure Connection
Why a Perfect PEX Cut Matters More Than You Think
A bad PEX cut isn't cosmetic. It's the start of a weak connection.
PEX is flexible, forgiving, and fast to run, which is exactly why so many people use it. But that flexibility creates a problem rigid pipe doesn't have. The tubing can twist, flatten slightly, or pull the blade off line while you're cutting. If the end isn't square, the fitting doesn't seat the way it should.
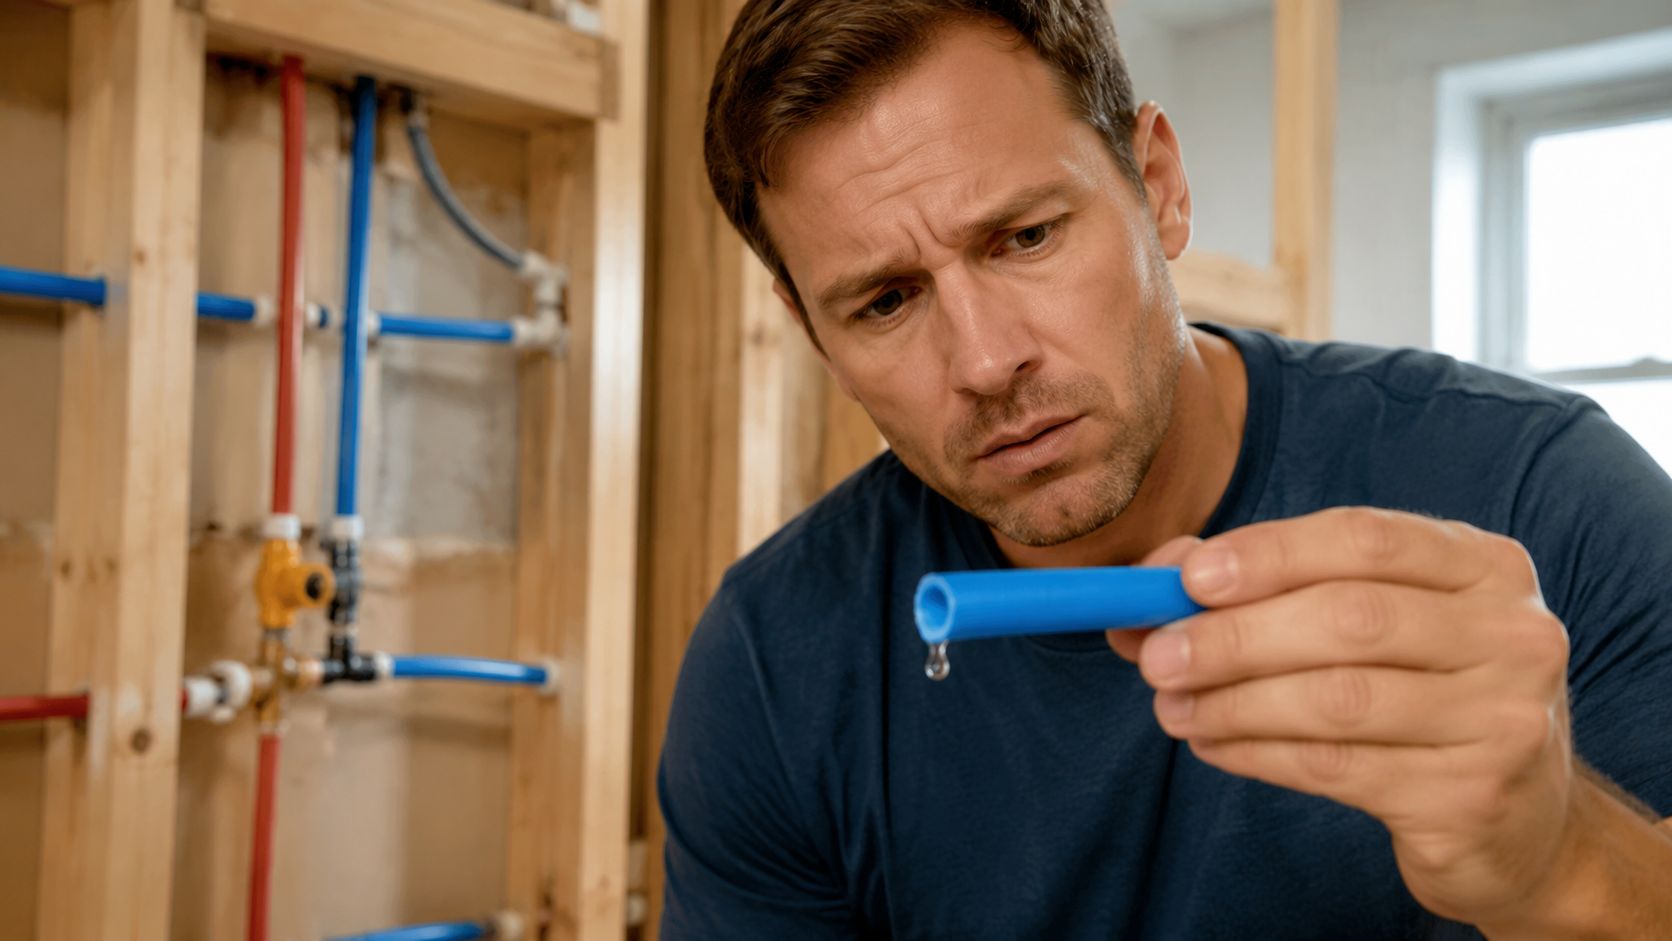
By 2023, PEX accounted for approximately 60% of all new residential water supply piping installed in the United States, and the U.S. installs over 1.5 billion feet of PEX tubing annually, which is why clean 90-degree cuts matter so much in real-world plumbing work (verified industry data).
What actually goes wrong at the cut
Most leaks tied to cutting happen for a few simple reasons:
- The pipe end is angled so the fitting can't seal evenly
- The tubing gets crushed because the wrong tool was used
- The cut leaves burrs that interfere with the connection
- The pipe is still fighting its coil shape while you're trying to cut it
That last one gets overlooked all the time.
Practical rule: If the tubing is still trying to curl back into a loop, it's not ready for your final mark or your final cut.
Why this one step deserves more attention
People spend plenty of time thinking about crimp rings, clamp tools, expansion heads, and fittings. Fair enough. But none of those parts can rescue a bad pipe end. The connection starts with the cut.
If you're running lines for a sink, toilet, ice maker, or a larger remodel, this is the point where patience pays off. One square cut saves you from trimming back pipe, wasting fittings, and second-guessing every joint afterward.
Your PEX Cutter Is Your Most Important Tool
If you're tempted to use whatever cutting tool is already in the garage, stop there. A dedicated PEX cutter isn't optional. It's the difference between a clean edge and a distorted one.
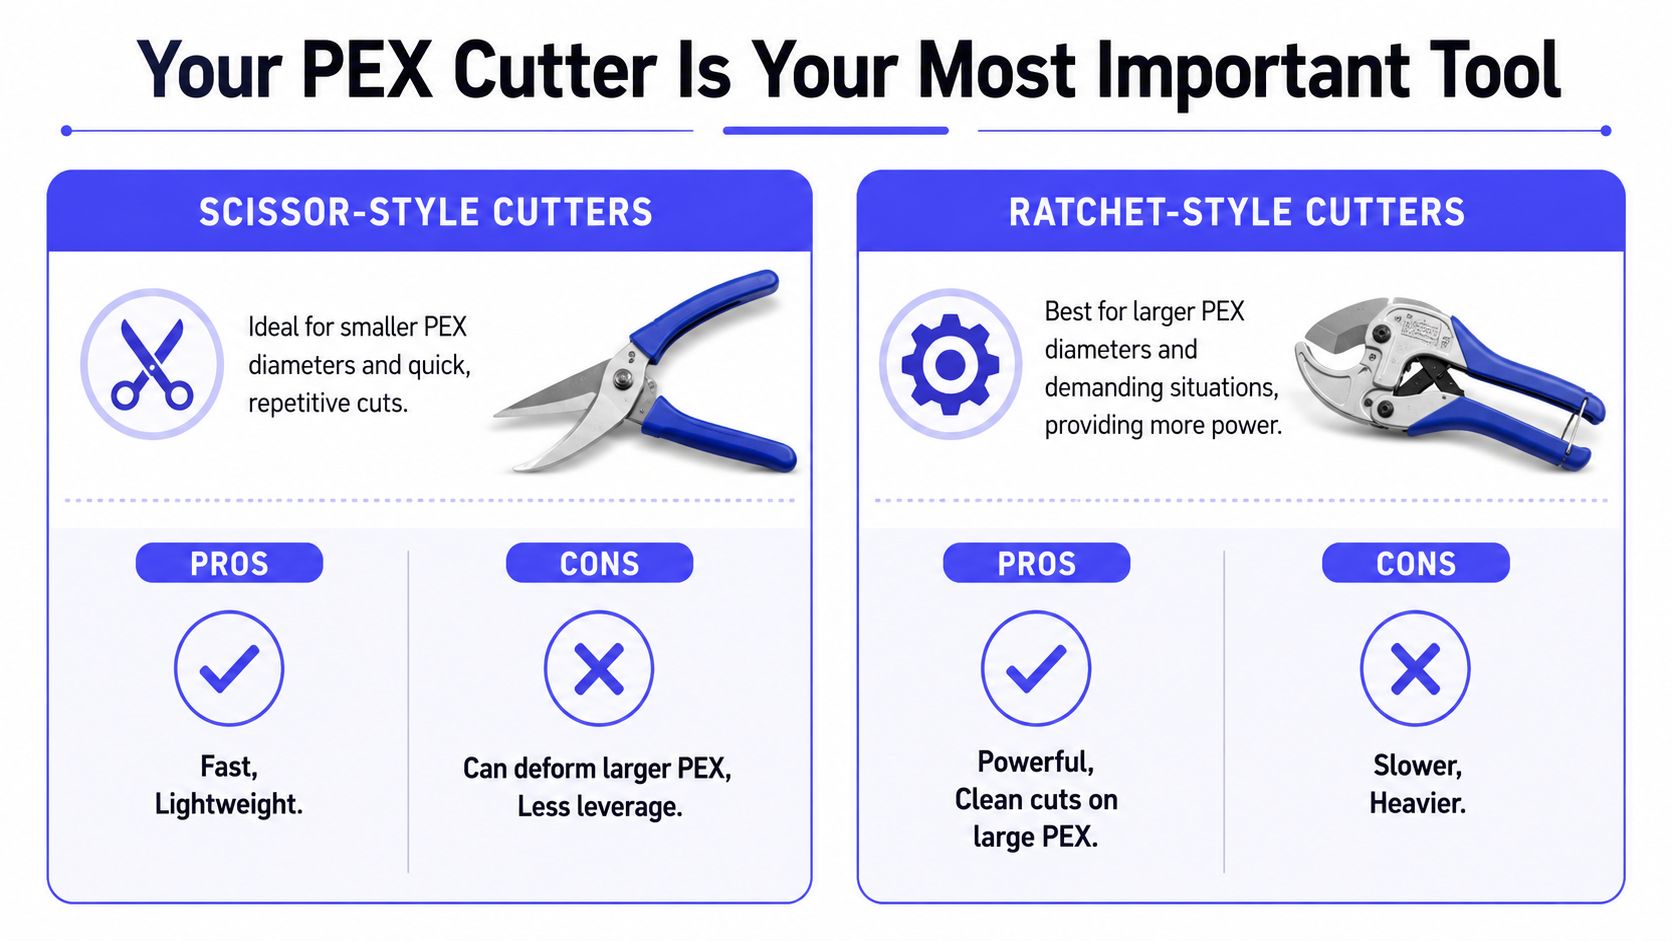
The industry standard is a scissor-style or ratchet-style PEX cutter, not a saw or utility blade. Improper tools can crush the tubing and create a caliber reduction of up to 15%, which leads to flow restriction and leak problems. For tubing from 3/8 inch to 1 inch, cutting usually takes moderate pressure of less than 10 psi of hand force. For 1.5-inch or 2-inch lines, a ratchet cutter is essential to avoid deforming the pipe.
Scissor-style cutters
These are the go-to tool for smaller tubing and quick work.
They're light, simple, and fast. If you're cutting standard residential sizes and making repeated cuts at a bench or in an open stud bay, they work well. A sharp scissor-style cutter gives you good control, especially when you've already marked a full line around the pipe.
Best fit: smaller PEX sizes, quick repetitive cuts, lighter work.
Ratchet-style cutters
These make more sense once the tubing gets larger or stiffer.
A ratchet cutter closes in stages, which assists your cutting power and gives you more control. It's slower, but that's often a good trade. You're less likely to force the blade and oval the tubing on larger lines.
Best fit: larger diameters, tighter hand strength situations, cuts where deformation is a real risk.
A slow clean cut beats a fast damaged one every time.
Tools that don't work well
Here's what causes trouble in the field:
| Tool | What goes wrong |
|---|---|
| Hacksaw | Leaves a rough edge and burrs |
| Utility knife | Hard to keep square, easy to slip |
| Copper tubing cutter | Can deform plastic instead of slicing it |
| General shears or snips | Tend to crush before they cut |
A lot of first-time installers assume any blade will do because PEX is soft. That's exactly backward. Because it's flexible plastic, it needs a tool designed to slice cleanly without squeezing it out of round first.
What to buy before you start
Keep it simple:
- Dedicated PEX cutter: Choose scissor-style for common small sizes, ratchet-style for larger pipe
- Fresh blade: A dull blade drags and flattens the end
- Marker and measuring triangle: You need both if you want a true square cut
- Deburring tool or utility scraper: For cleaning the edge after the cut
If you only upgrade one thing before the job, upgrade the cutter.
How to Overcome PEX Memory for a Square Mark
Most basic guides tell you to straighten the tubing. That advice is incomplete. PEX doesn't just bend because you pulled it from a roll. It holds that shape. That stored curve is the problem.
When you cut PEX straight off the coil, the tubing can shift under the blade and turn your nice-looking cut into a slight ellipse. That's enough to create trouble at the fitting.
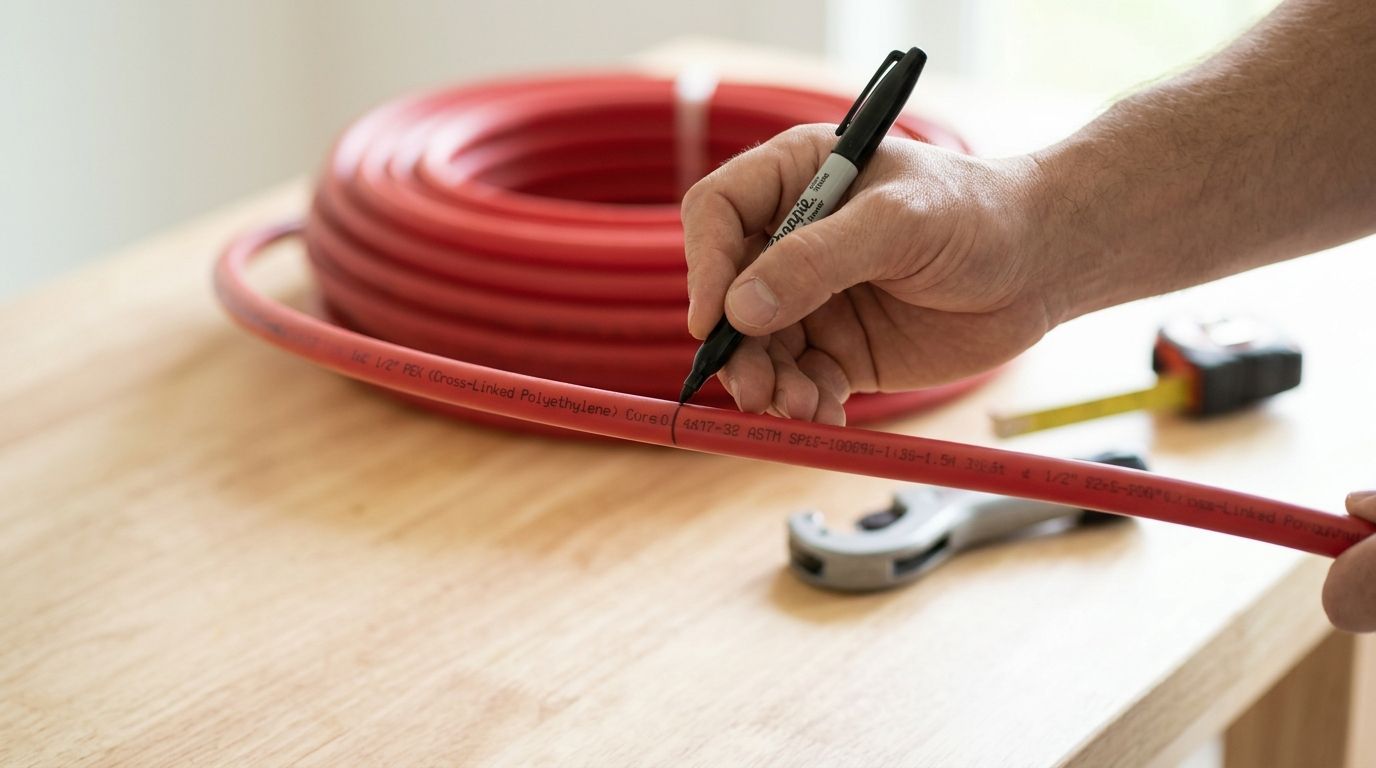
Data from plumbing apprentices indicates that cutting coiled PEX without a 15-minute uncoiling wait results in a 30% higher incidence of non-square cuts, and using a pipe-support triangle to mark the cut line reduces cut-angle variance by 45% compared to standard hand-marking methods (Angi reference on cutting PEX).
Let the tubing relax first
Pull off more length than you think you need. Lay it out on a flat surface, or at least give the section you're cutting room to settle. Then wait.
Fifteen minutes doesn't sound like much until you compare it to redoing a leaking connection later. During that short wait, the tubing loses some of the coil tension that wants to twist your cutter off line.
Mark the whole circumference, not just one side
This is the pro move most beginners skip.
Use a measuring triangle or small square against the pipe. Wrap that reference around the tubing and draw a full line around the circumference with a marker. Don't rely on a single tick mark or a short line on top. You need a guide the blade can follow all the way through the cut.
A simple workflow that works
- Uncoil extra length so the section isn't under tension
- Let it rest before measuring and cutting
- Measure your run carefully with the fitting depth in mind
- Wrap a triangle or square around the pipe
- Draw a complete line around the tubing so your blade has a true path
If you only mark the top of the pipe, you're guessing the rest of the cut.
Watch for hidden tension
Even after resting, some tubing still wants to move. You'll notice it when one side lifts off the table or the cut point won't sit still in your hand. Support the pipe close to the cut so the blade enters square. Don't hold it by the far end and expect the shape to stay put.
That one adjustment does more for accuracy than forcing the tool harder.
Making a Clean Perpendicular PEX Cut
Once the mark is on the pipe, the cut itself should be controlled and boring. That's the goal.
Professional guidelines mandate a precise 90-degree angle, and deviations exceeding 2 degrees are considered non-compliant with manufacturer fitting requirements. Professionals use a measuring triangle to draw a full circumference line before cutting so the blade tracks squarely (video reference on square PEX cuts). If you're comparing your approach with other plumbing tasks, the same attention to fit and alignment shows up in any good contractor screening checklist.
How to make the cut
Set the cutter blade directly on your line. Don't start slightly ahead of it, and don't try to steer back into the mark halfway through. Once the blade bites, hold the pipe steady and close the cutter in one smooth motion.
With a scissor-style cutter, that means steady pressure through the full cut.
With a ratchet-style cutter, let the mechanism do the work. Advance it step by step without twisting your wrist or rolling the pipe.
What the cut should look like
A proper cut has:
- A flat end face with no visible angle
- No crushed sidewalls
- No hanging plastic fragments
- A clean opening that still looks round
If the end looks pinched, ragged, or slightly slanted, cut it again before you install the fitting.
Don't skip deburring
This part gets ignored because PEX feels softer than metal pipe. It still matters.
The deburring step is mandatory because even 0.5 mm of debris can restrict flow or cause a fitting to fail its pressure rating of 100 psi at 180°F. Clean both the inside and outside edge. You don't need to carve material away. Just remove the thin plastic fragments left by the blade so the fitting seats cleanly.
Fixing Crushed Ends and Angled Cuts
Most cutting mistakes are recoverable. You usually don't need to scrap the whole run. You just need to stop pretending the bad cut is good enough.
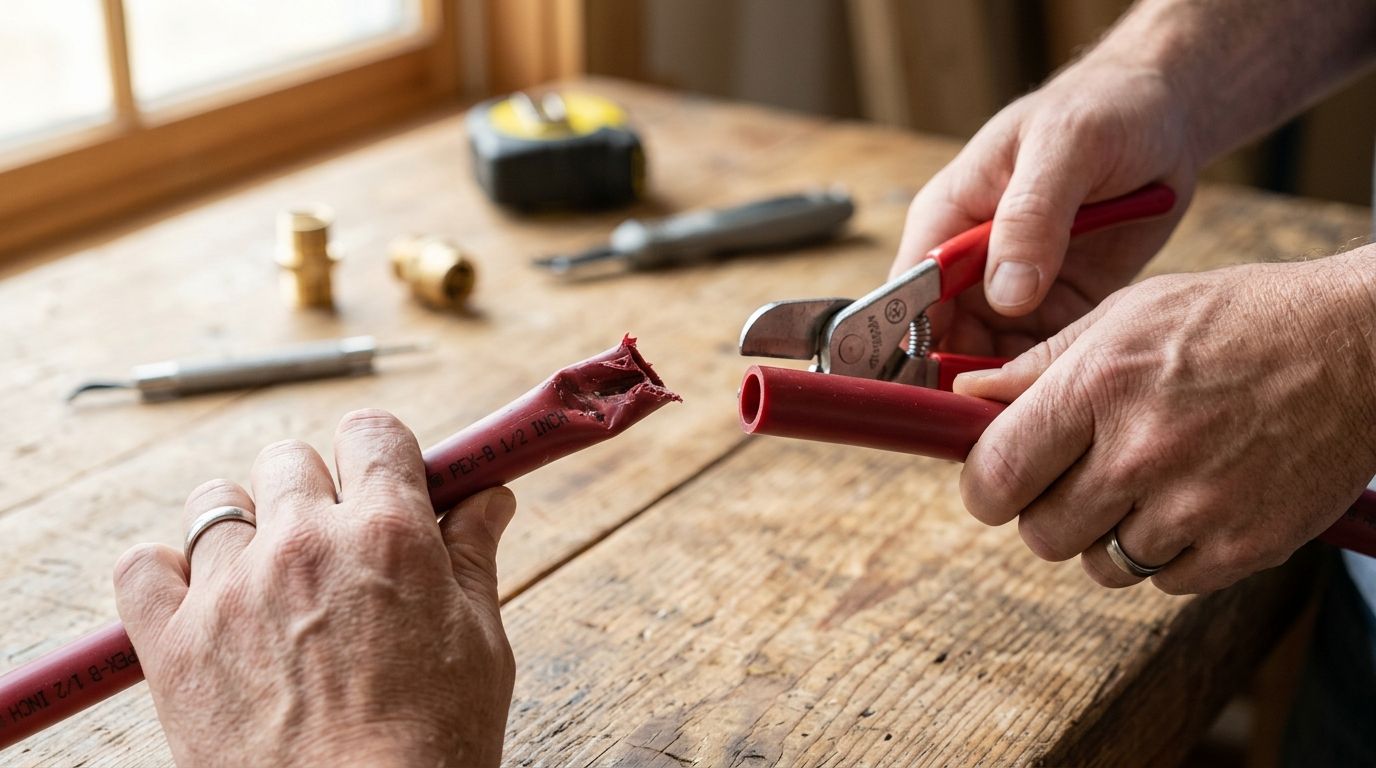
If the end is crushed or oval
This usually comes from the wrong cutter, a dull blade, or too much force on larger tubing. You'll see the pipe opening lose its round shape.
If the deformation is minor, a re-rounding tool may save it. If it still looks off after that, trim back to fresh material and recut. Don't try to force a fitting into an out-of-round pipe and hope the ring or clamp will sort it out.
A fitting can clamp a connection. It can't correct a damaged pipe end.
If the cut is angled
This is the more common mistake, especially on tubing that still has coil memory. The blade starts square, then walks off line as the pipe shifts.
The fix is simple. Mark a new full line around the tubing and cut again just behind the bad edge. In most cases, losing a small bit of length is better than installing a joint you already know you can't trust.
If the pipe keeps fighting you
Change something before the next attempt:
- Rest the tubing longer
- Support the cut point closer
- Check the blade
- Switch to a ratchet cutter if the pipe size needs greater cutting power
Good recovery work is part of doing the job right.
From a Perfect Cut to a Secure Connection
Once the cut is square, clean, and round, you're ready for the connection. That's where the rest of the system starts to matter.
Crimp, clamp, and push-fit connections all depend on the pipe end being properly prepared. A good fitting on a bad cut is still a bad joint. A proper cut gives the fitting a flat, even surface to seat against, which is what keeps the seal consistent.
Match the cut quality to the connection
Different systems install differently, but the standard for the pipe end doesn't change.
- Crimp connections: Need full pipe insertion and even contact at the fitting
- Clamp connections: Still rely on a square end so the seal isn't uneven
- Push-fit fittings: Demand a especially clean edge because the internal seal has no room for a ragged cut
If you're handling a simple repair, take your time and inspect every cut before you move on. If the job is larger, buried behind finishes, or tied into a bigger remodel budget, getting qualified help is the smarter move. It's the same logic people use when comparing kitchen sink installation cost details. The visible fixture is only part of the job. The hidden precision is what saves headaches later.
Your next move
Before you make the connection, do one last check. Look at the end of the pipe straight on. If it isn't square, clean, and free of burrs, recut it now.
That's the key to how to cut PEX. Use the right cutter. Let the tubing relax. Mark the full circumference. Cut on the line. Clean the edge. If you do those five things, your fittings go together easier and your chances of chasing leaks later drop fast.
If the project is bigger than a quick repair, Hand Vetted Co. can match you with one licensed, background-checked, 4.5+ star rated professional for the job. You get one exclusive match, not your contact info blasted to a pile of businesses.